Battletech Bootcamp
published
I went along to the Battletech Bootcamp at the Bad Moon Cafe in London which was run by Strategos Level 3 yesterday.
While I was tempted to take along my freshly painted Inner Sphere Assault Lance, I ended up using some of the preconstructed lists that were provided on the event page. I was working on the basis that as I had so little experience of the game it would be a little premature to go hard for customisation.

Two shall Enter, one shall leave
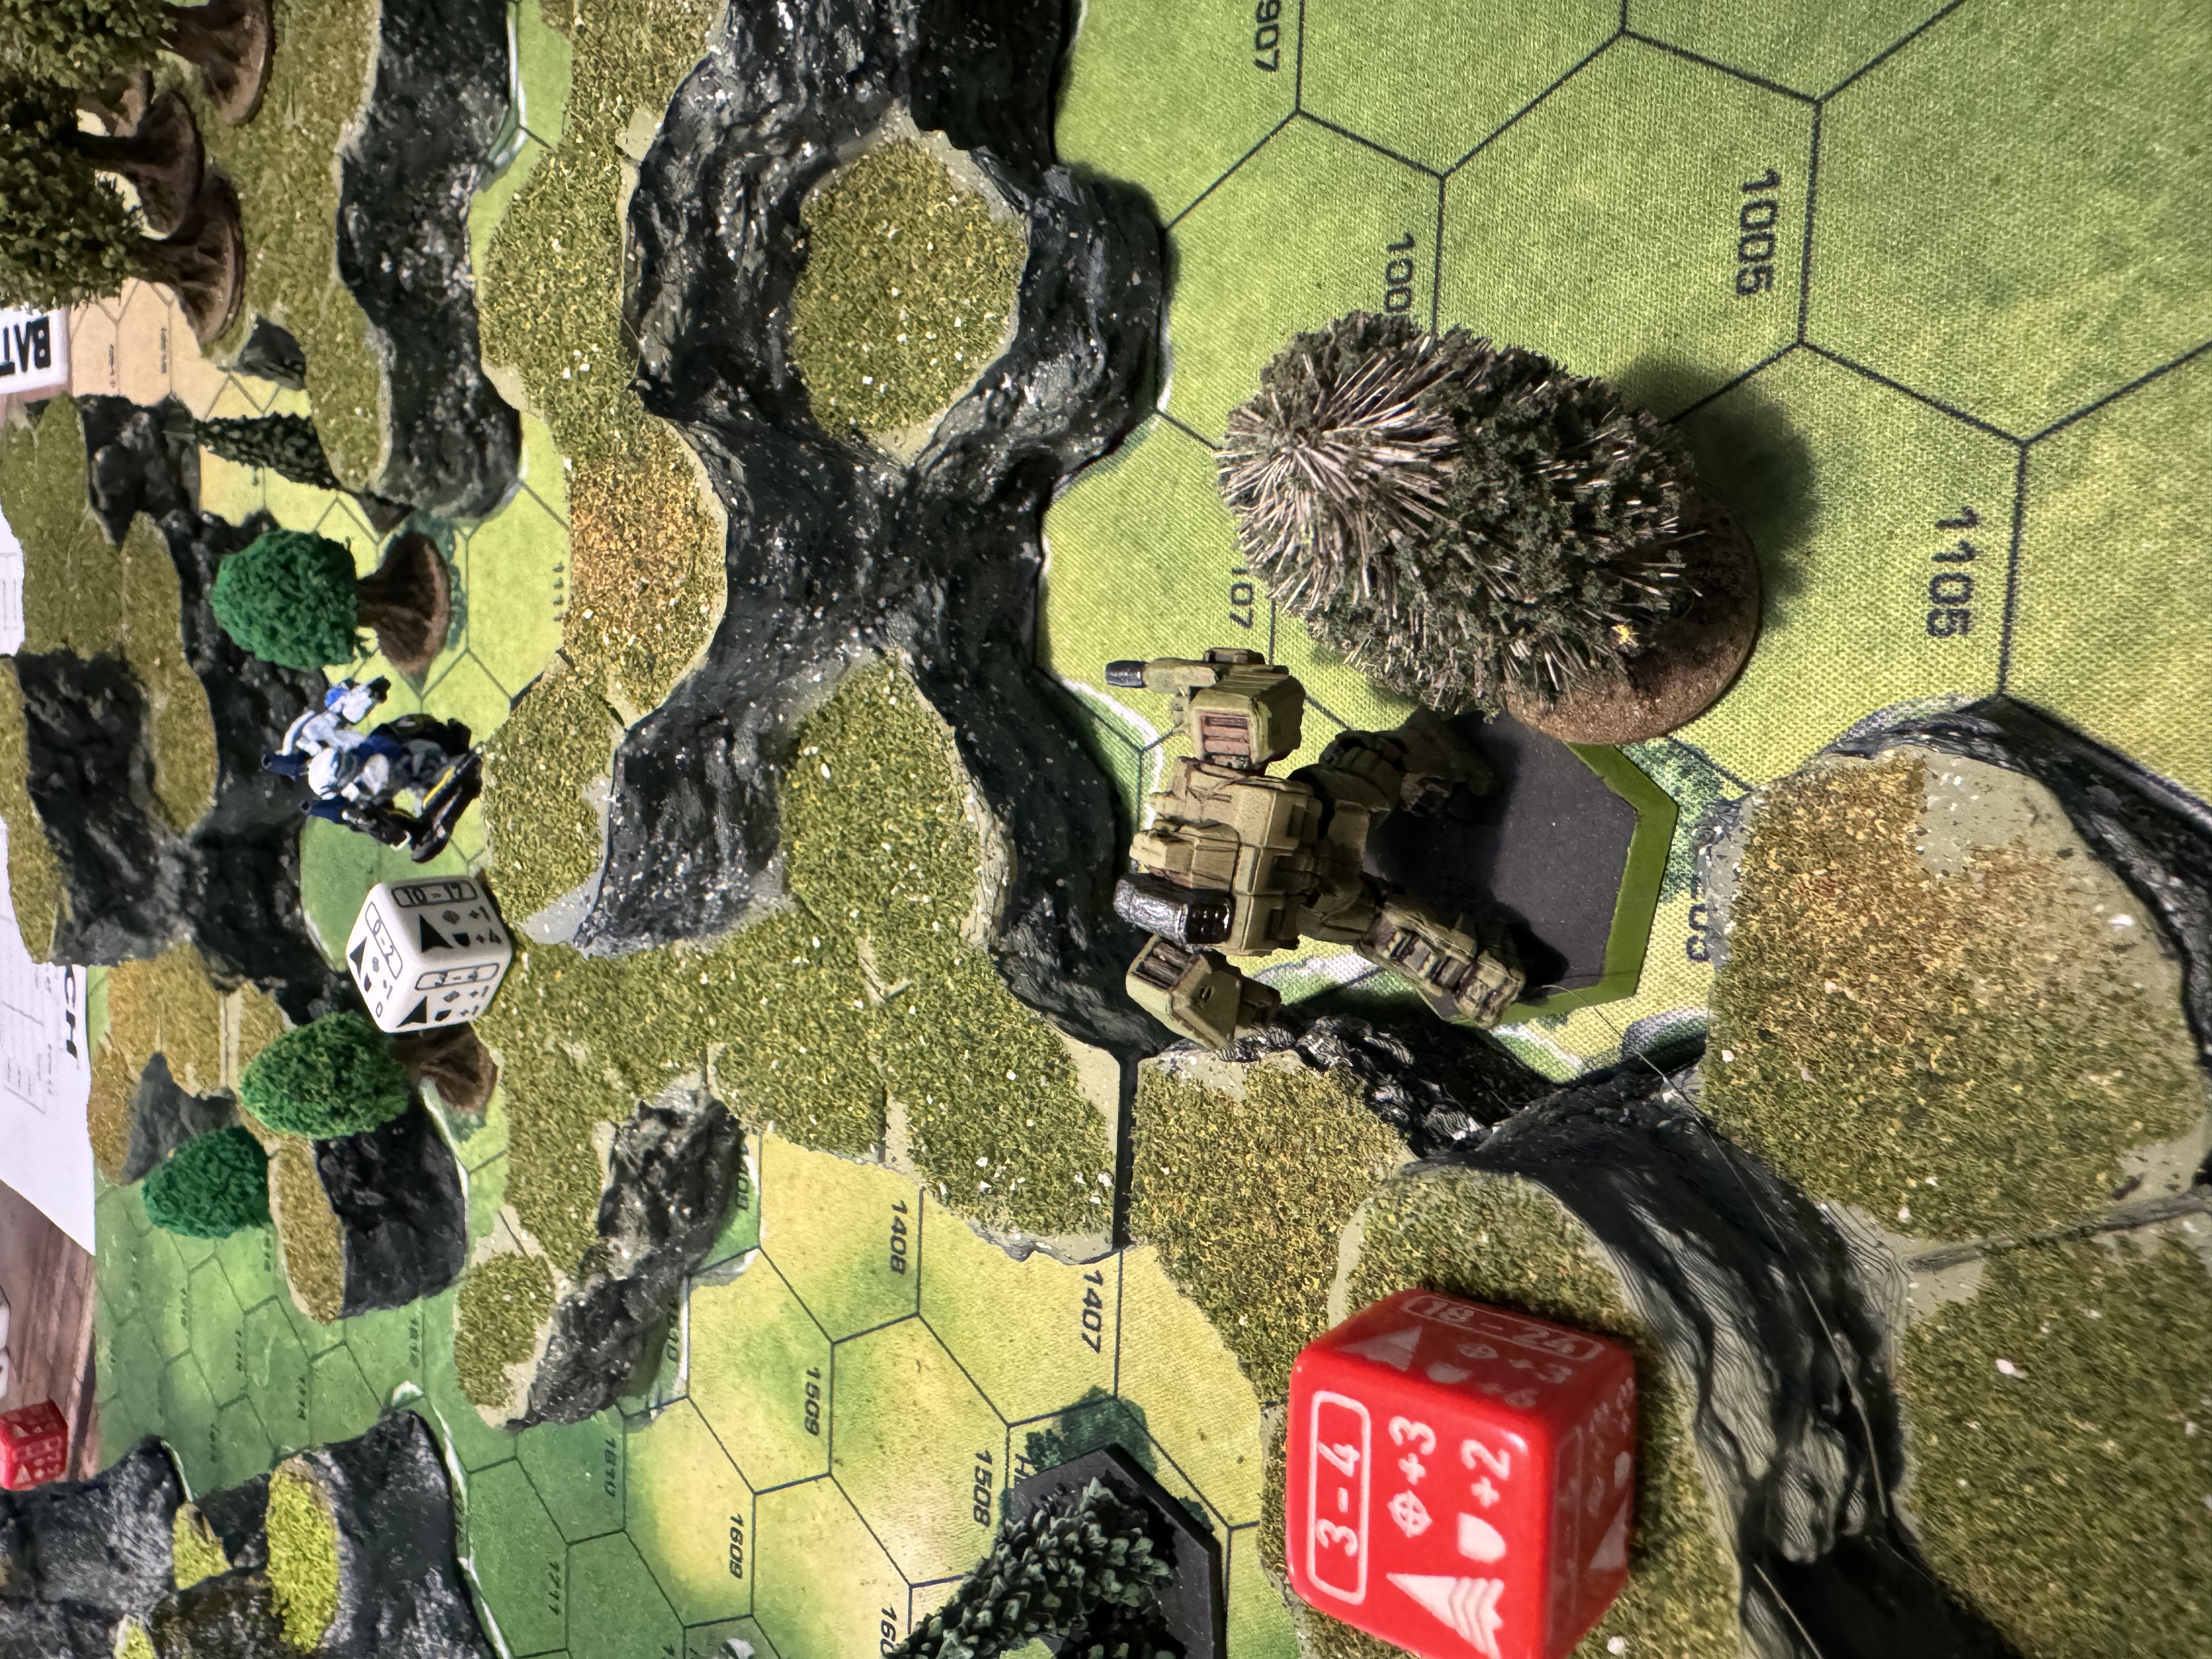
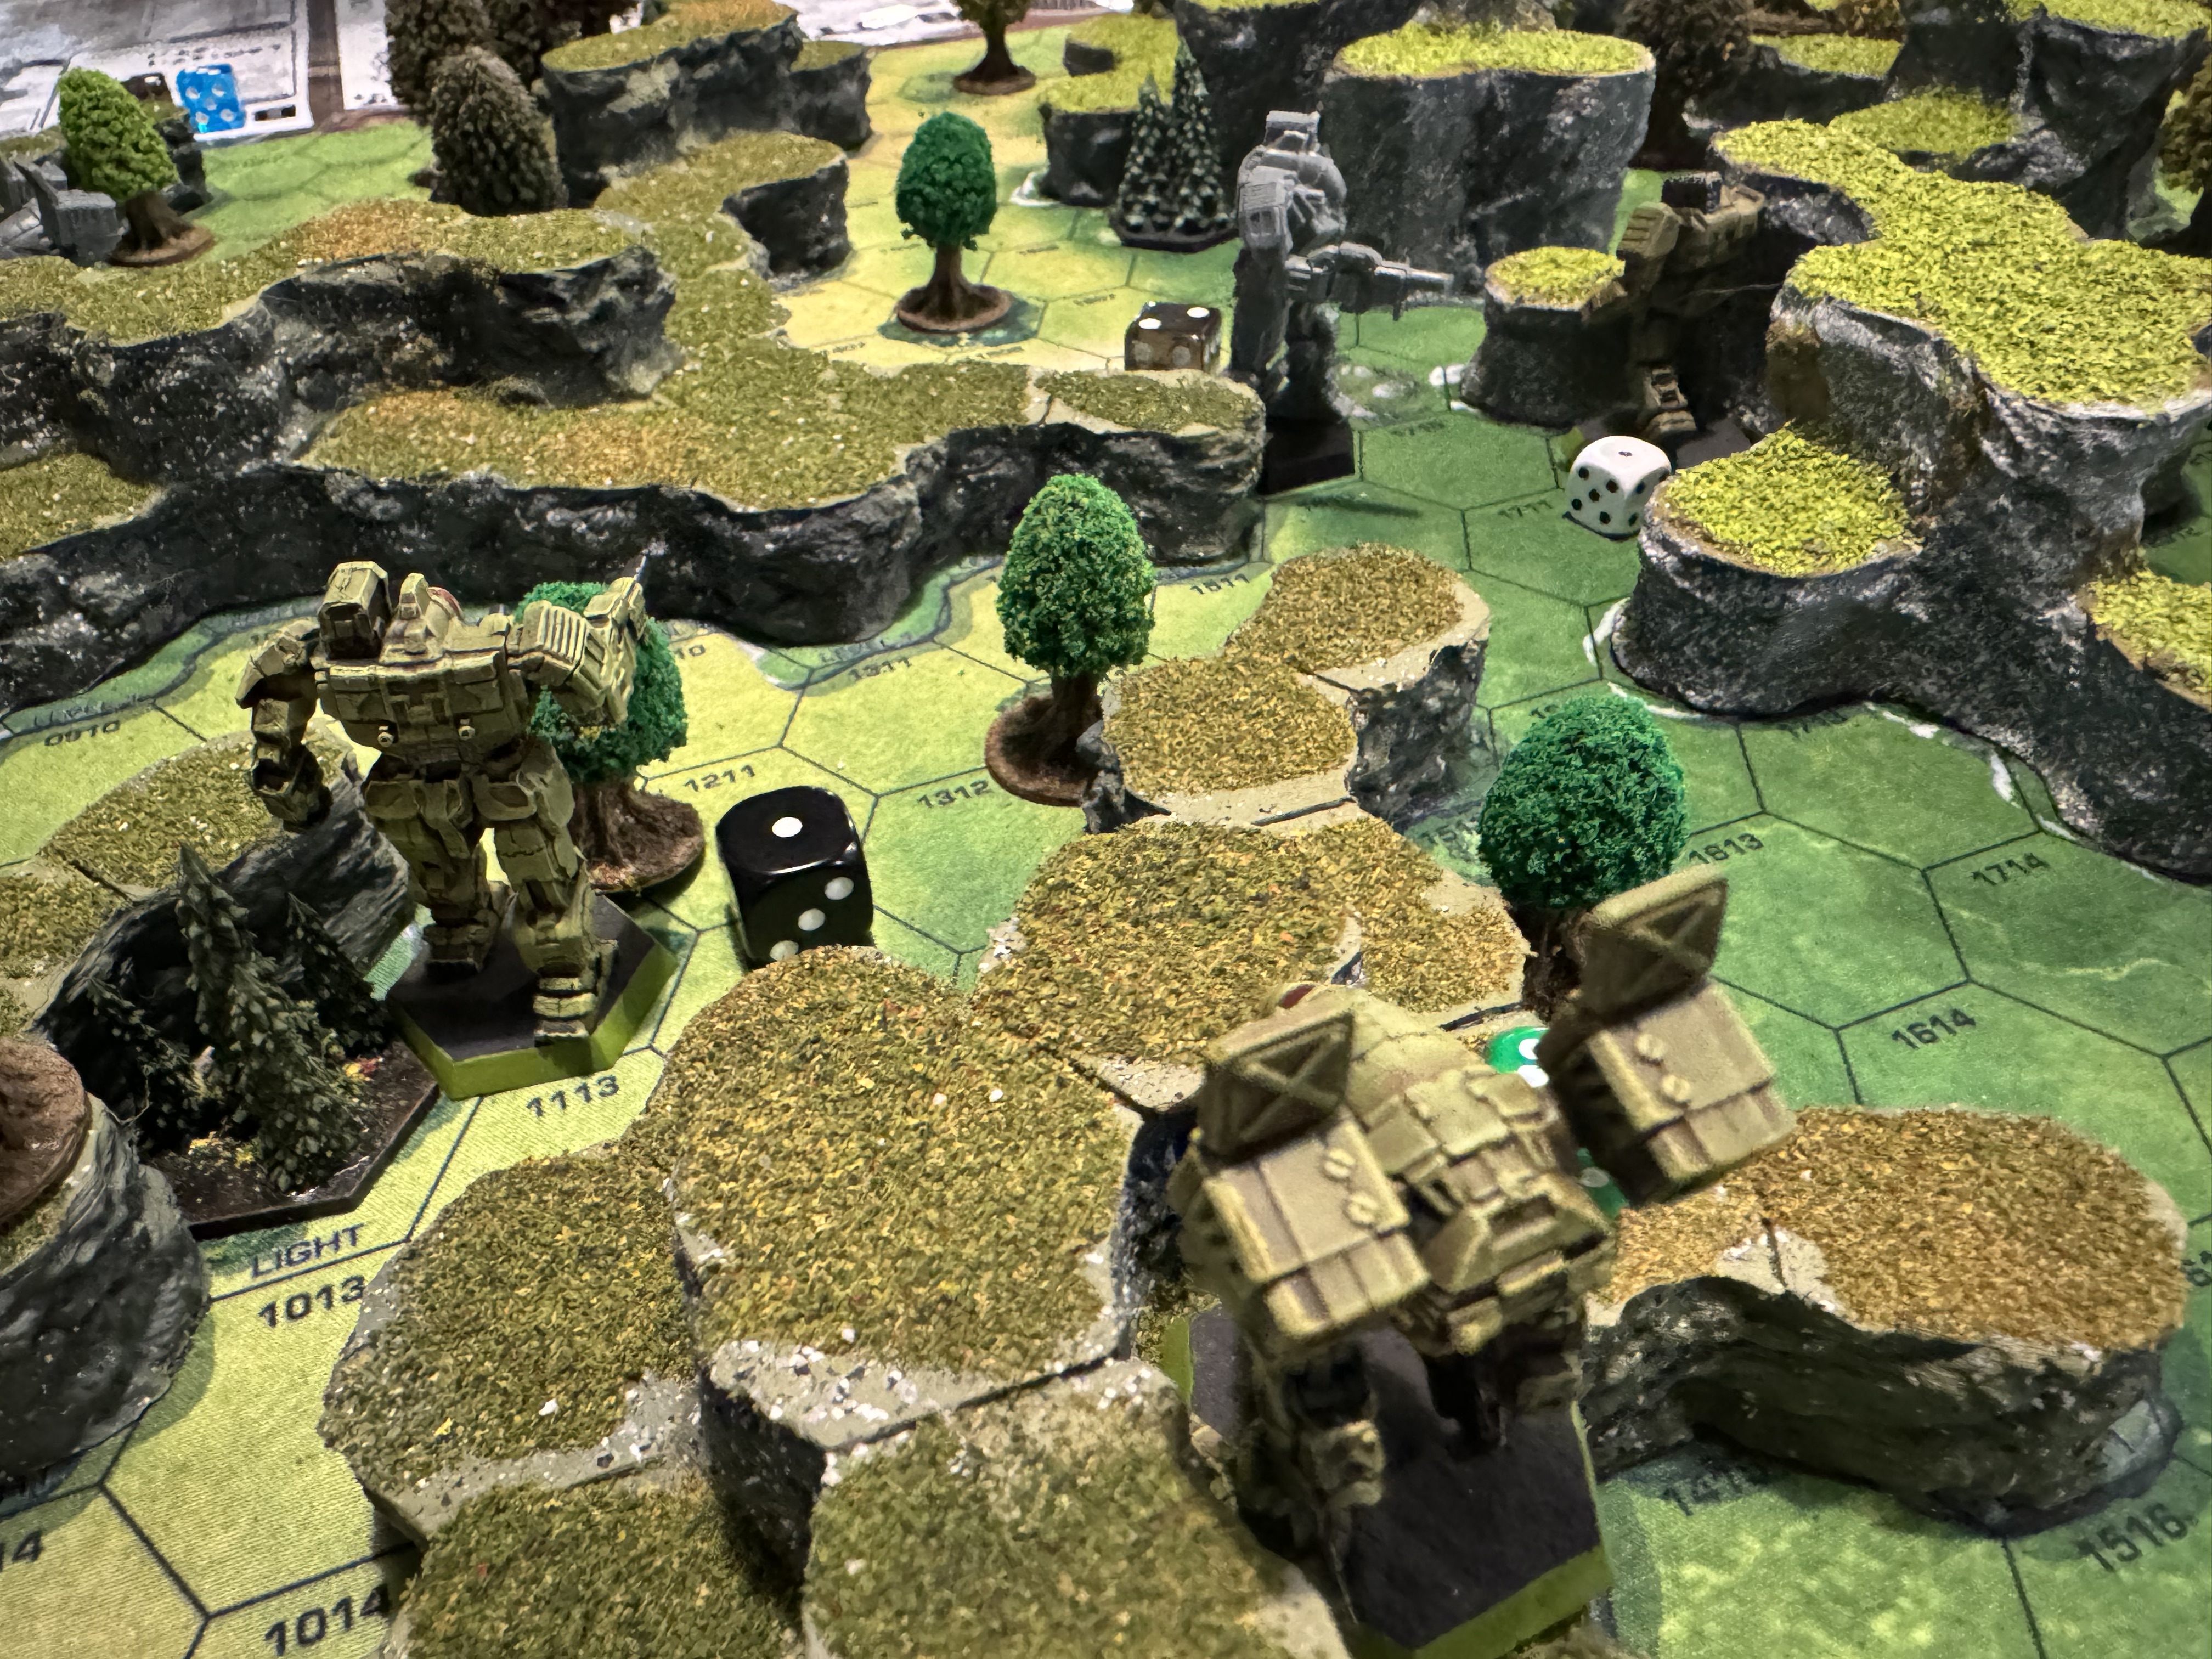
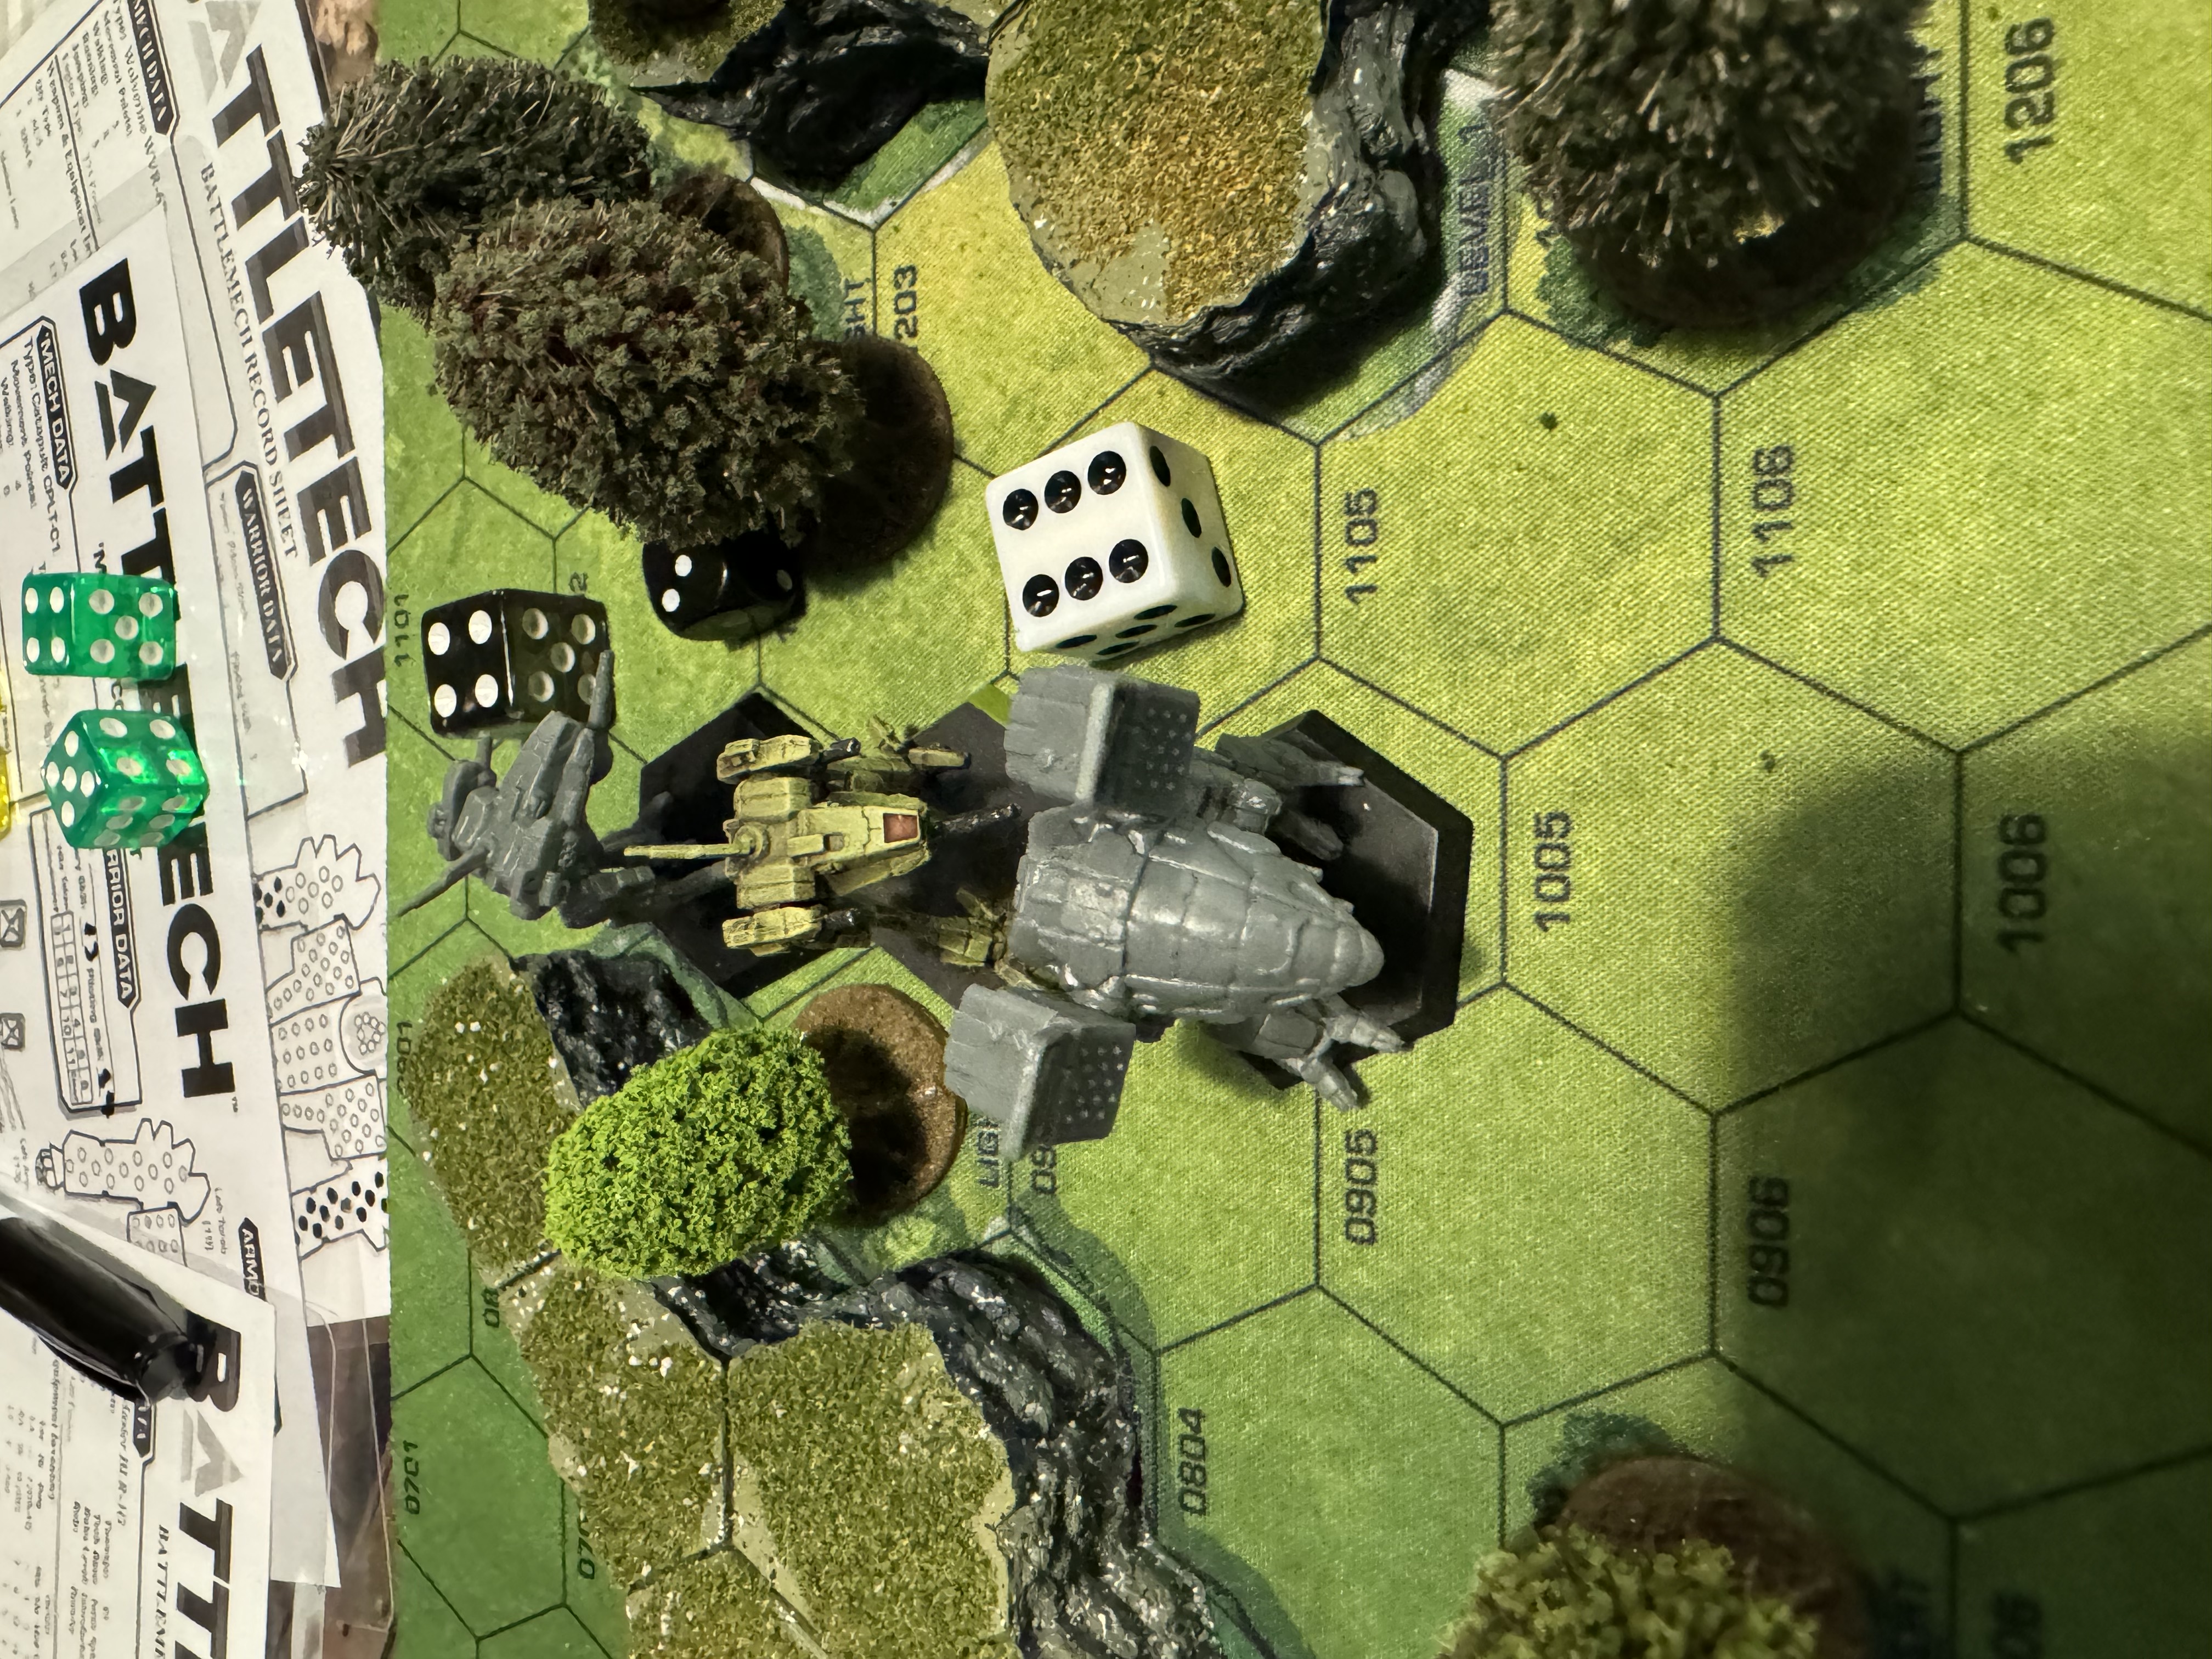
This was a straightforward game with one mech each side. It was a nice way to get used to the rules without having to switch contexts of which mechs were involved at each step. Xavier was a patient opponent who helped me get back up to speed with the rules as I hadn't had a chance to re-read them before the game. He got a couple of good hits in, but I was only able to dent his amount (on most of the possible hit locations) in return.
Double Dragon
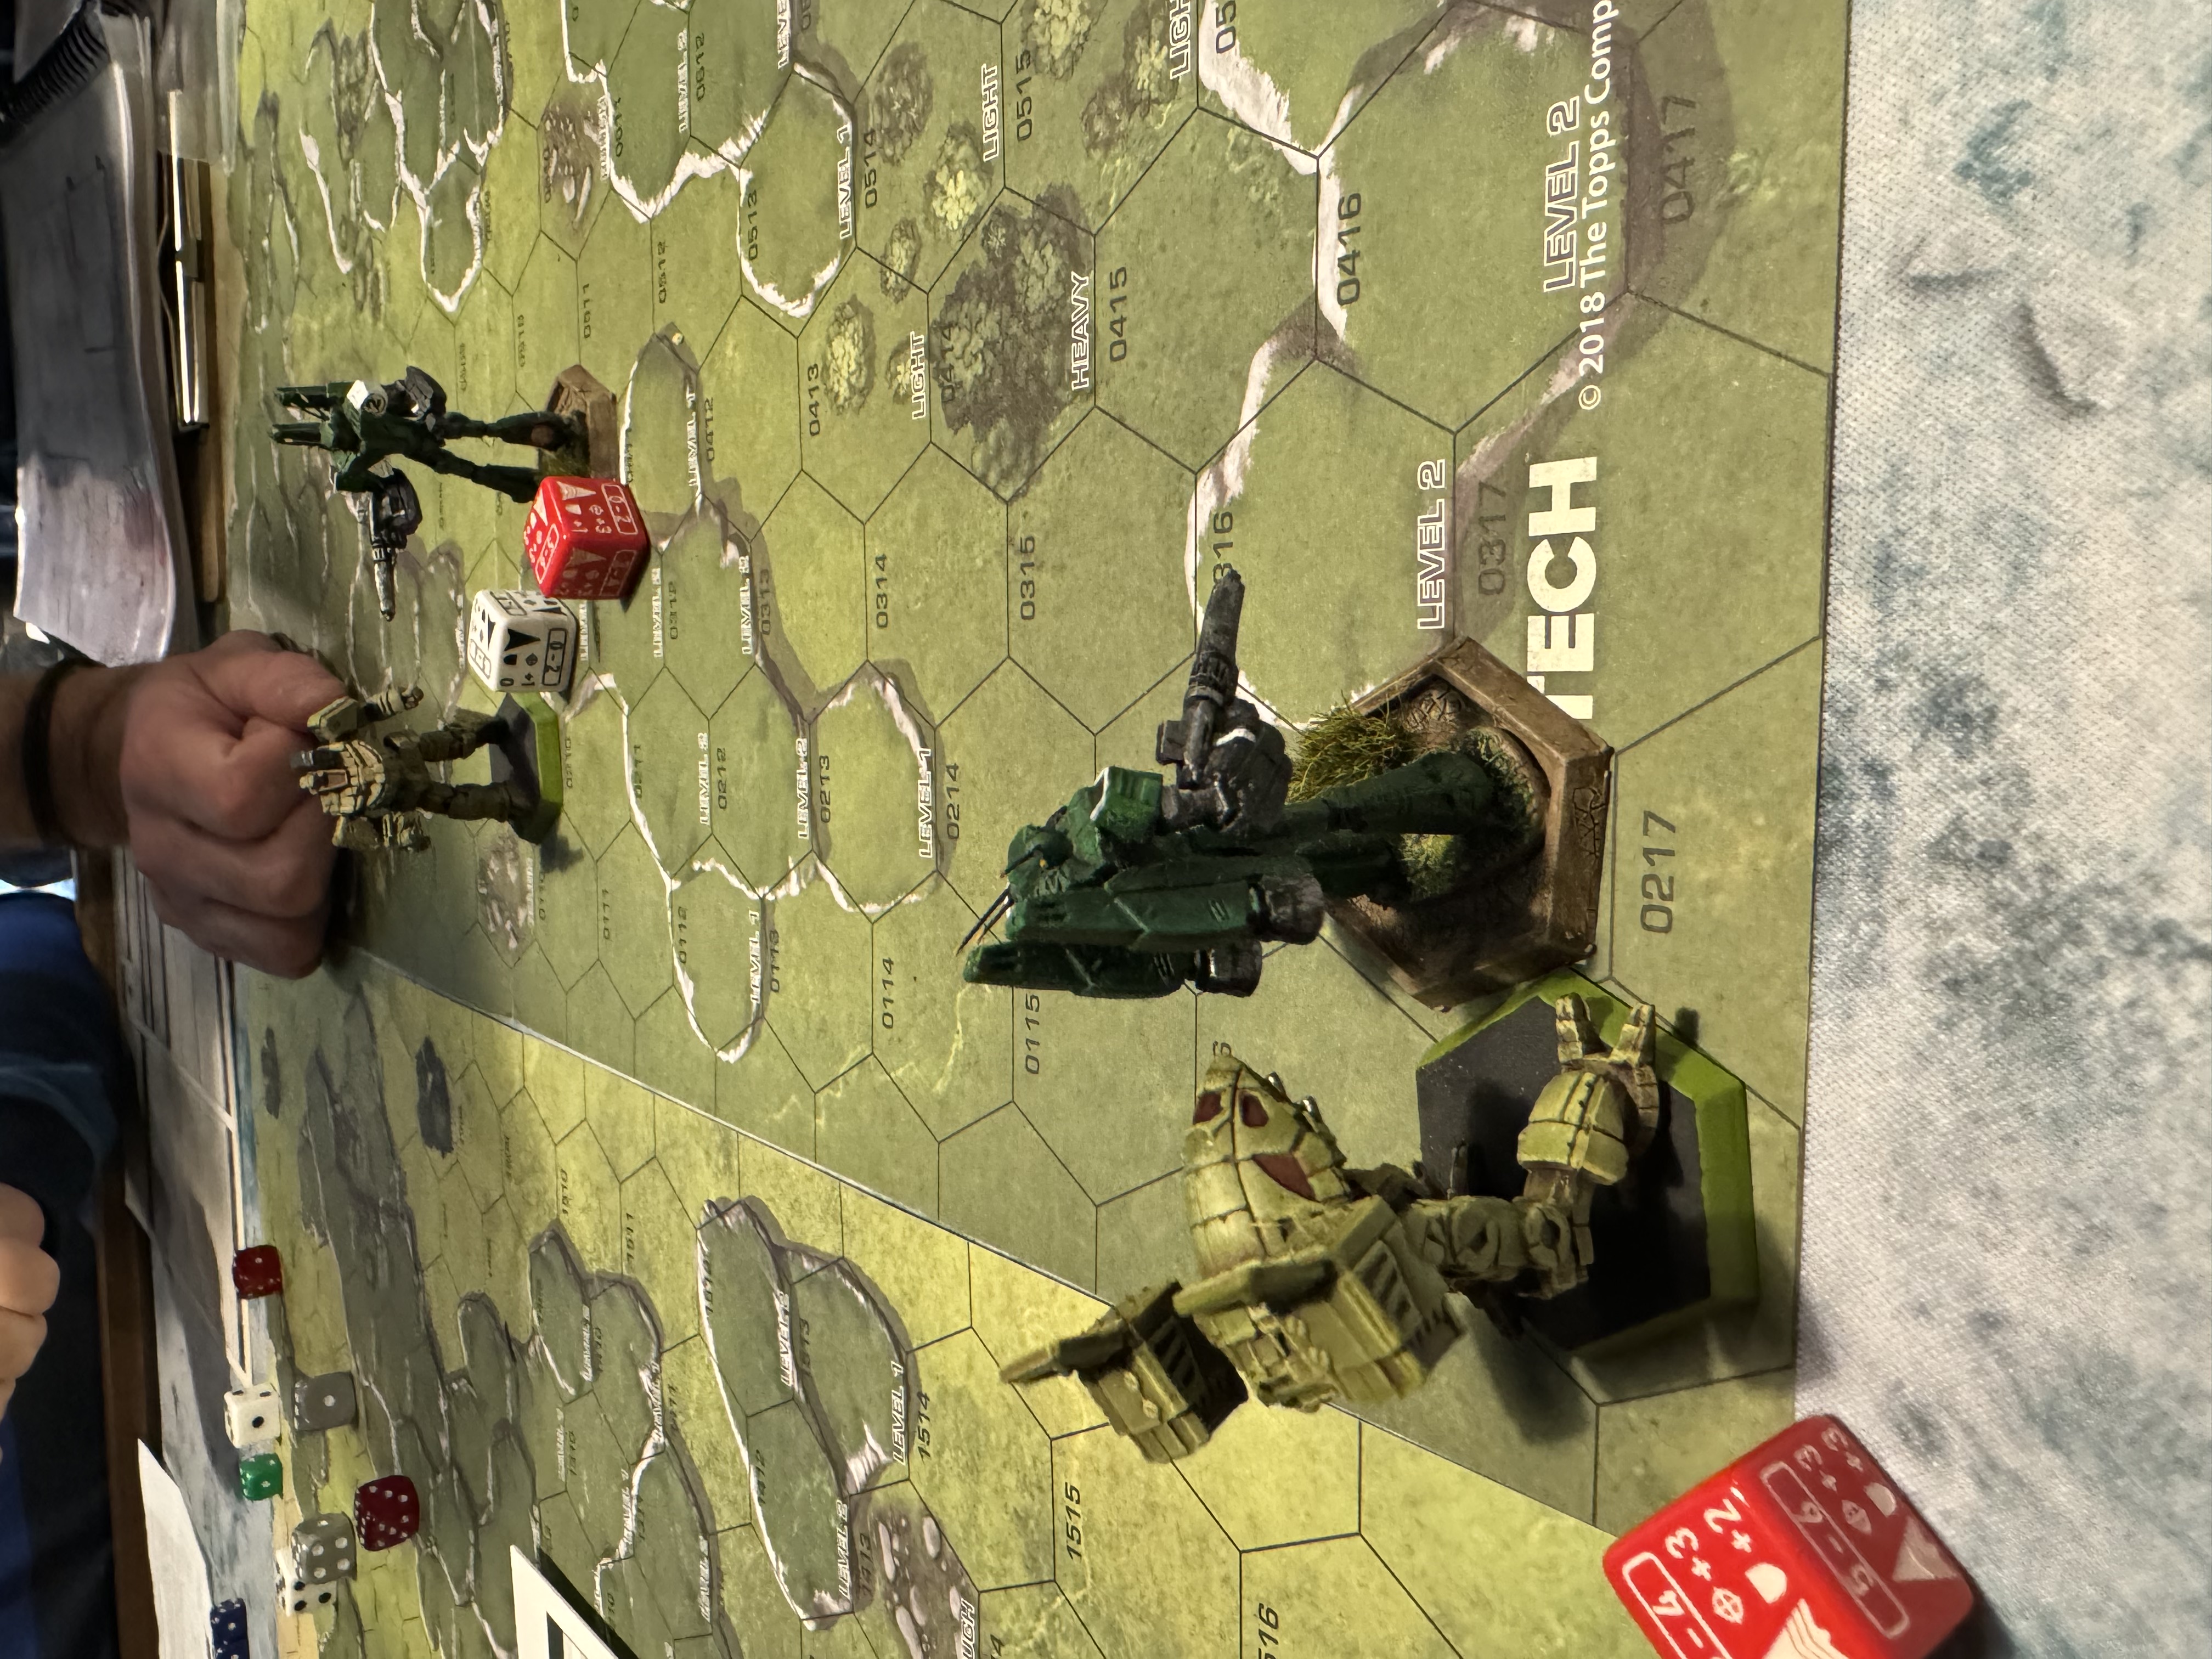
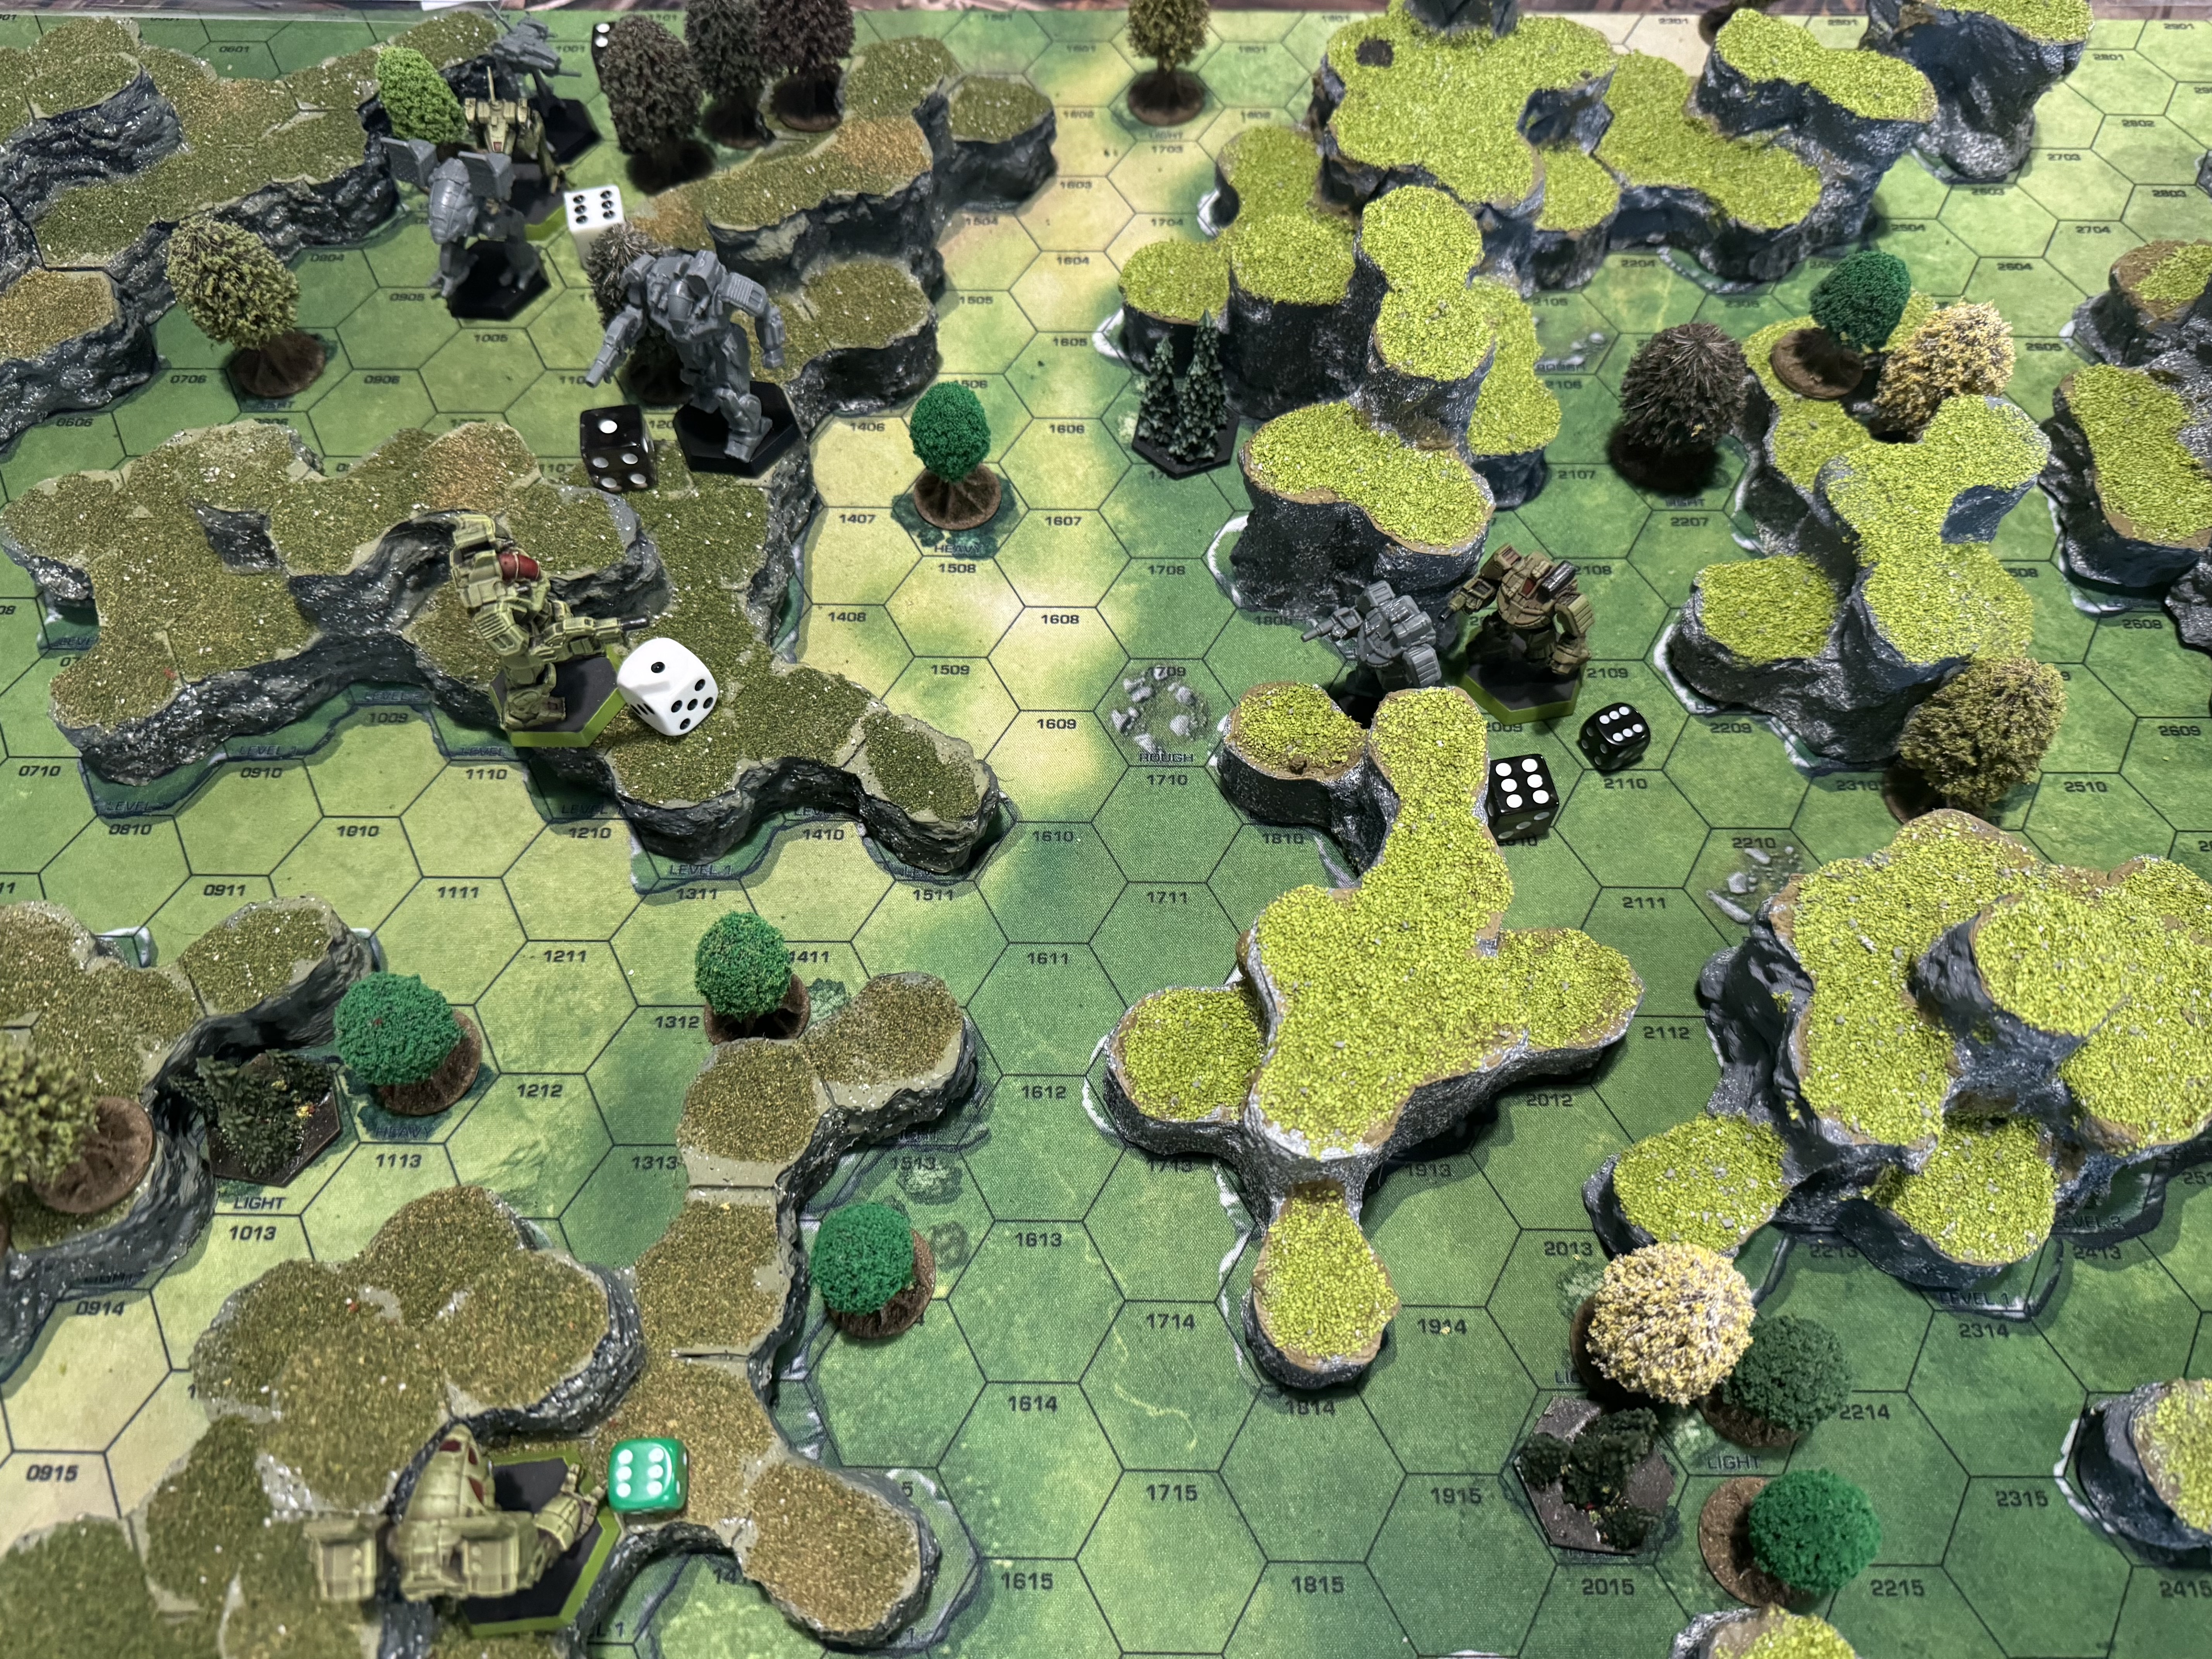
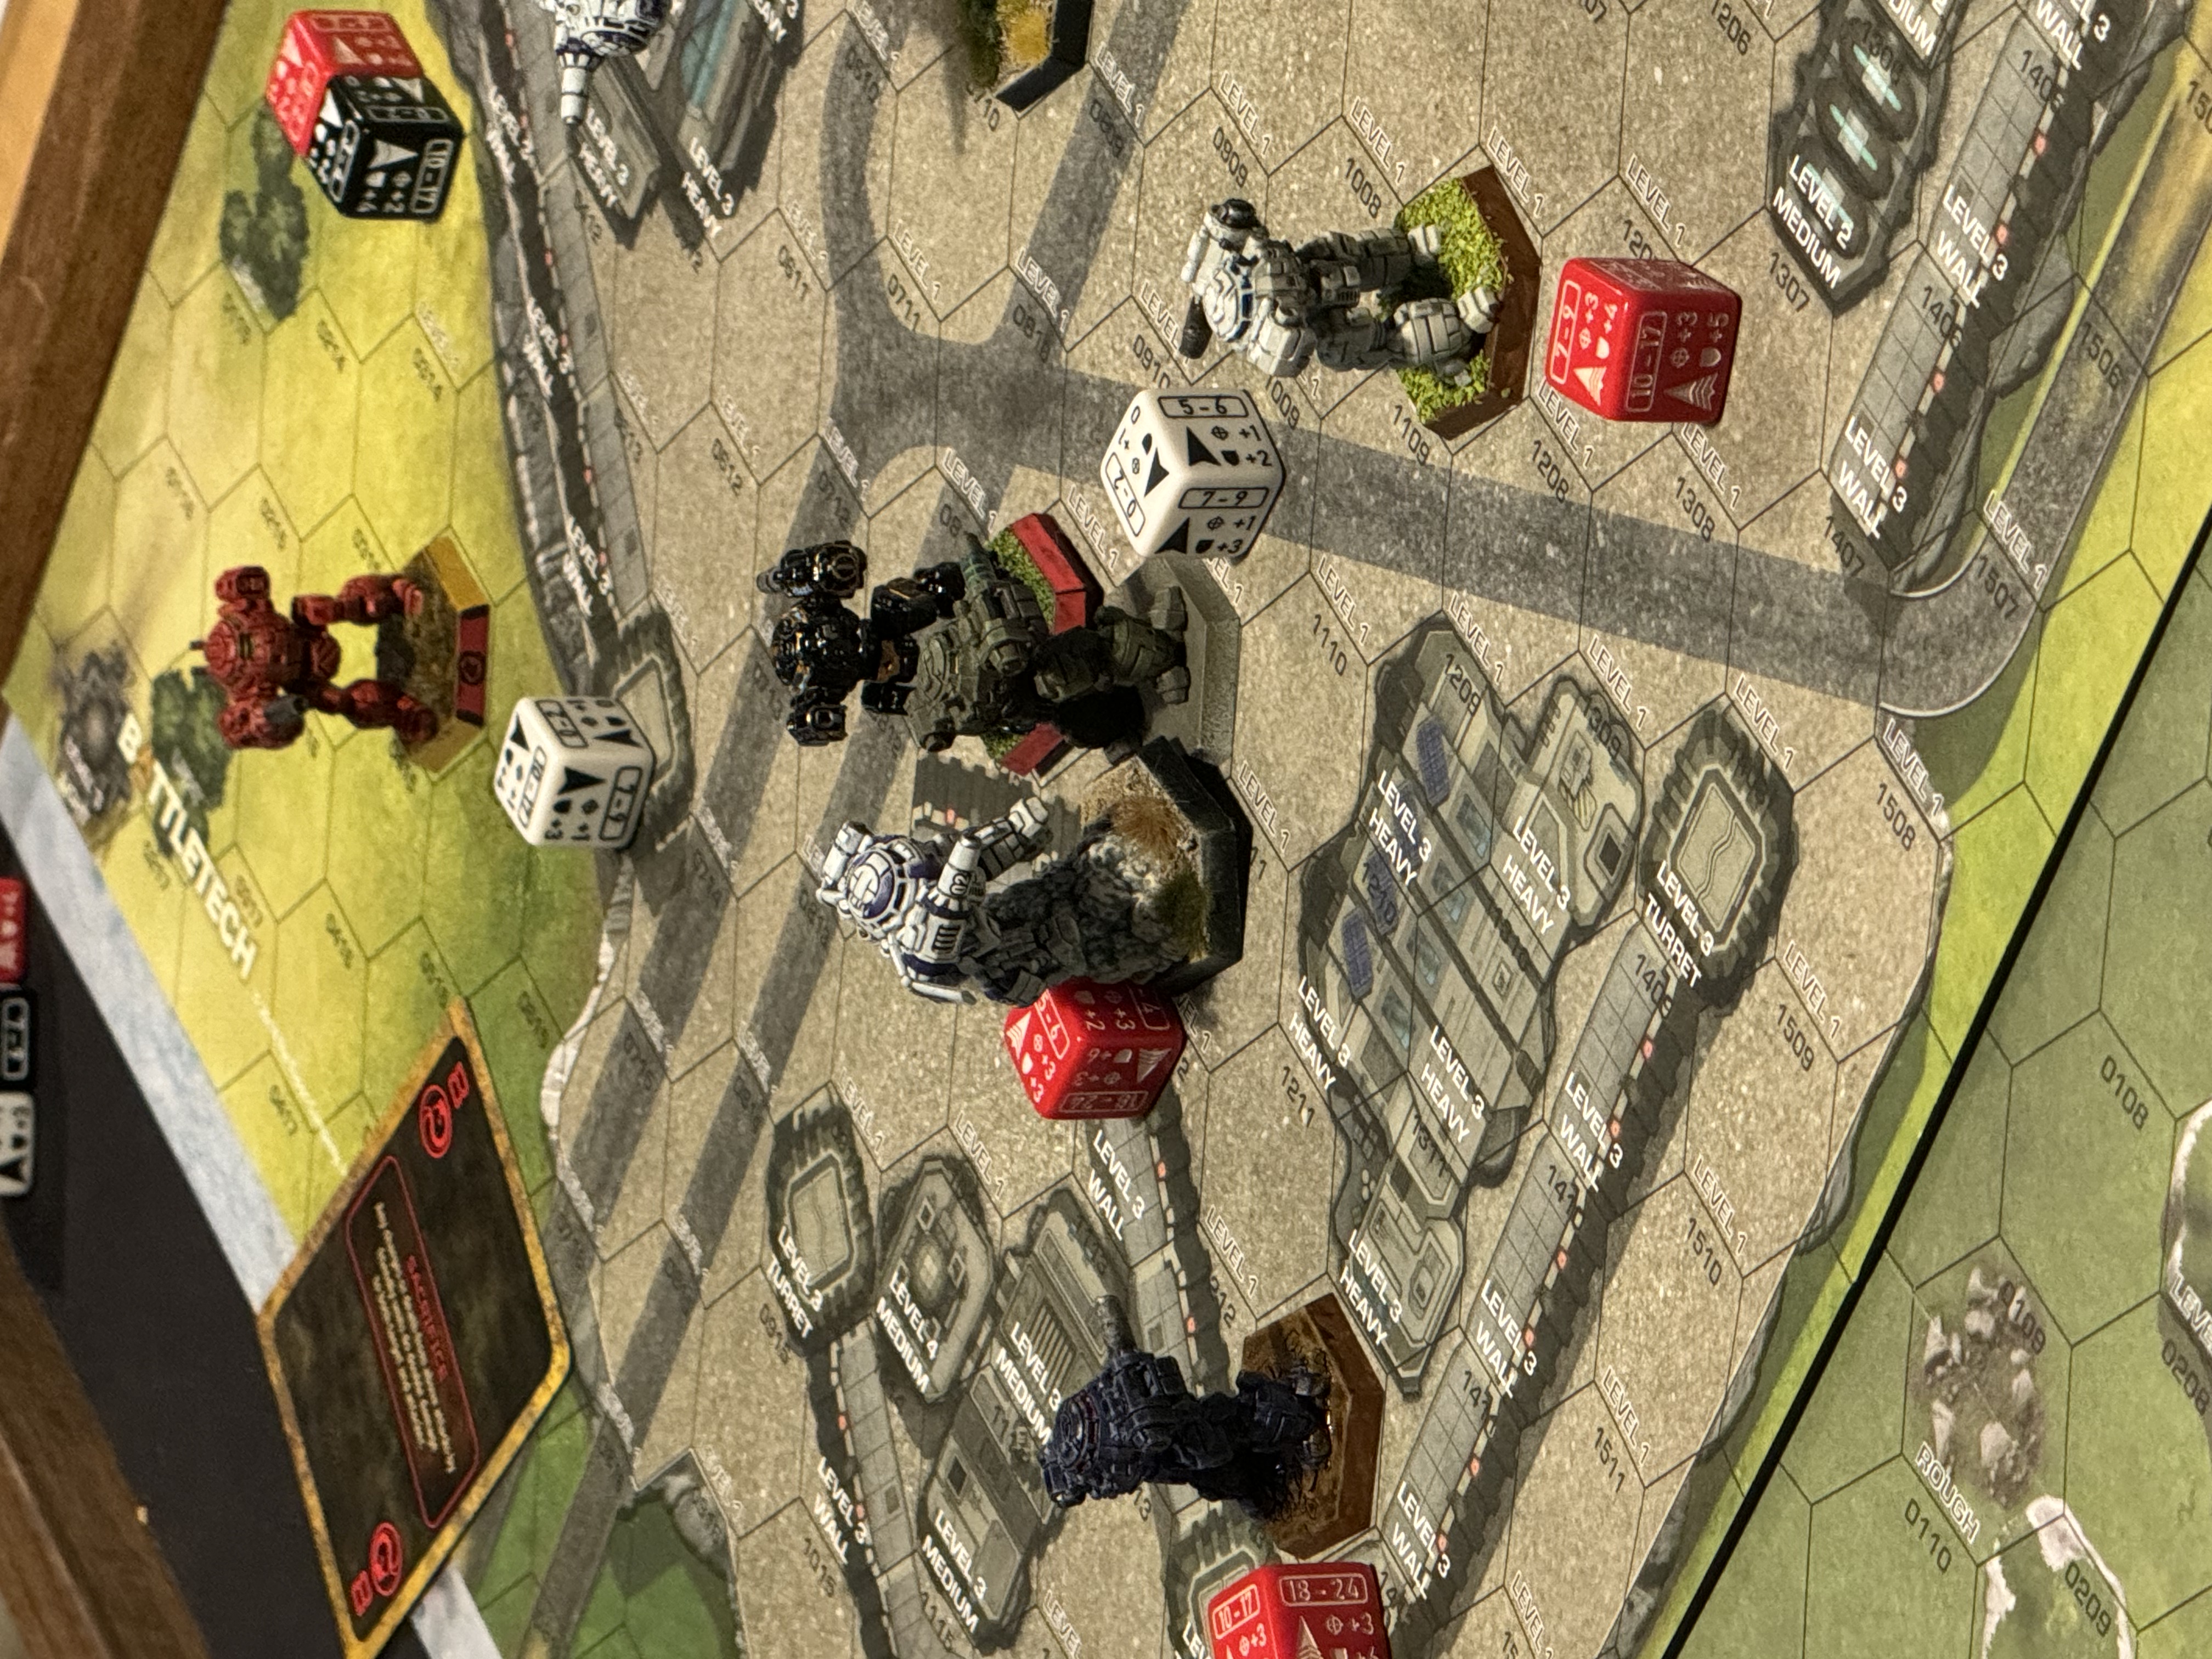
Next the stakes were upped to two mechs a side. This time my opponent, Martin, brought two Shadow Hawks to the table (and had another two for the third game). He definitely had me outmanoeuvred, and I didn't help myself by entering the battlefield at a point where there was lots of cover to hide it which made it virtually impossible to get a bead on him using my Catapult CPLT-C1. Either he was able to hide where I didn't have line of sight or he was so close that the minimum range penalty made it impossible to hit. Letting myself get boxed into a corner worked against me too. We both made a lot of use of our jumpjets so the hit target numbers were very high. It was another loss for me though.
The switch from the 3d terrain to the plain hex maps was quite noticeable. The 3d hills make a huge difference to both the feel of the game and the metal load in tracking where cover and movement penalties are.
Lance-a-lot
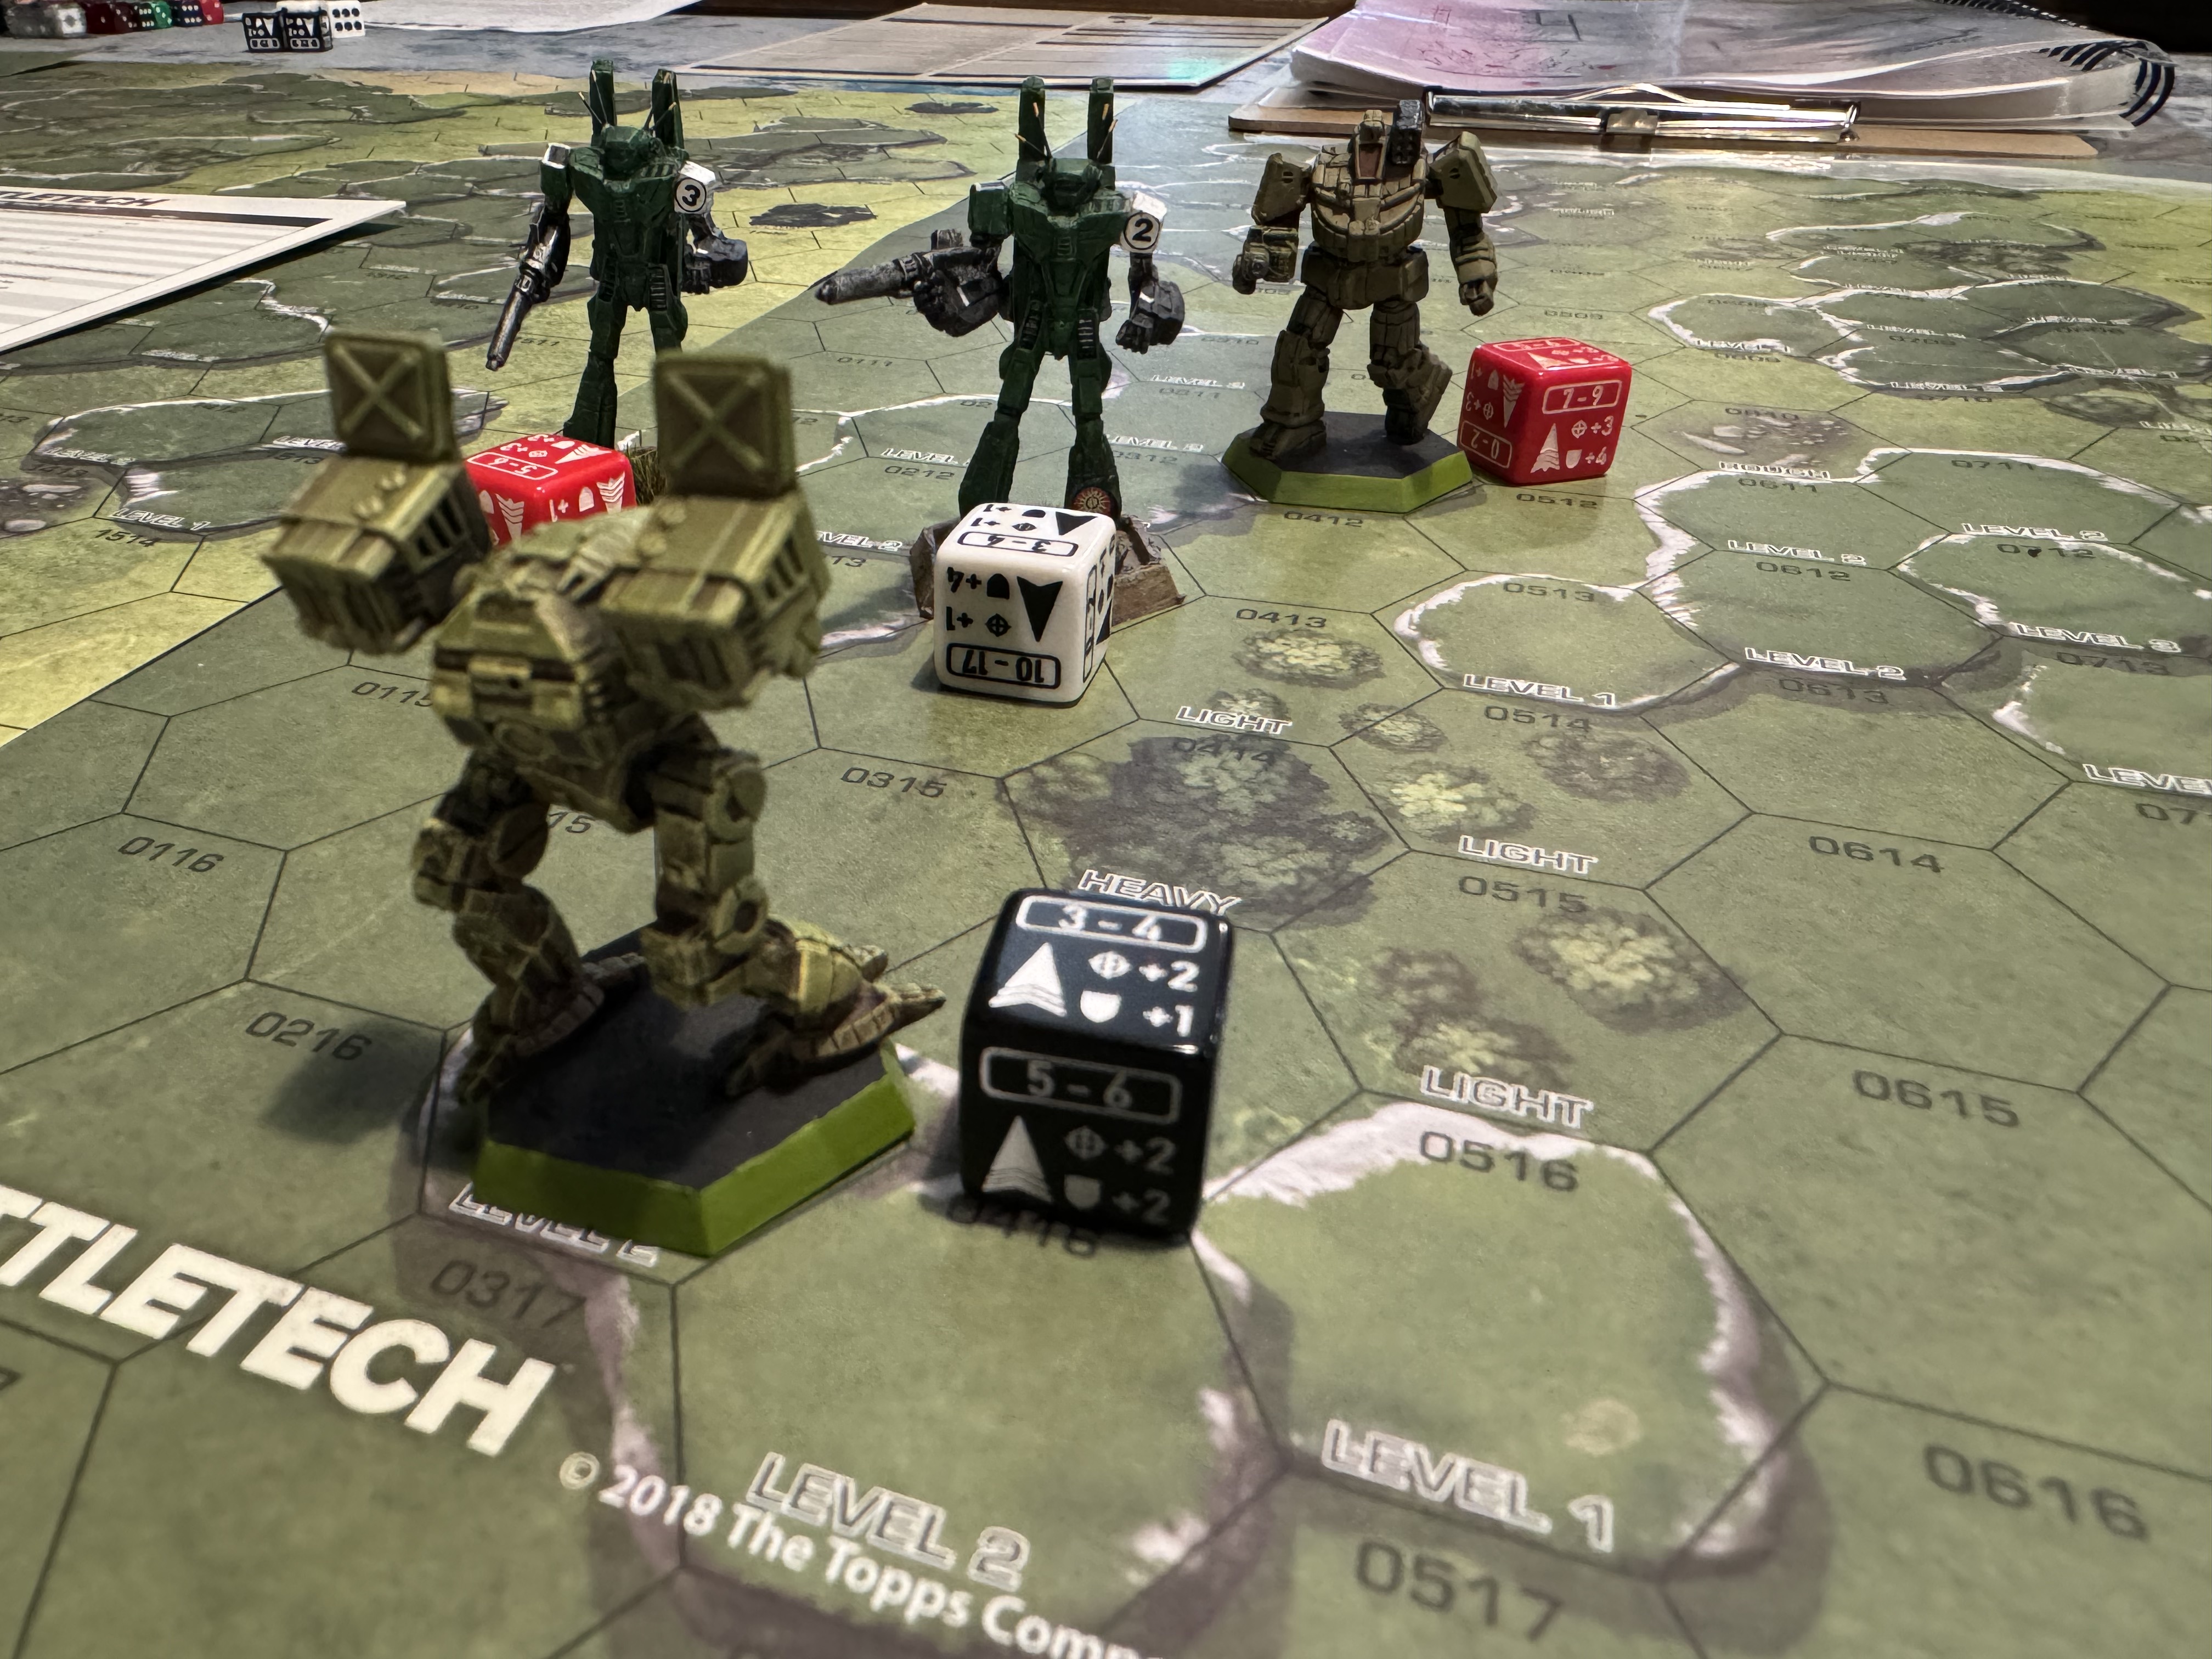
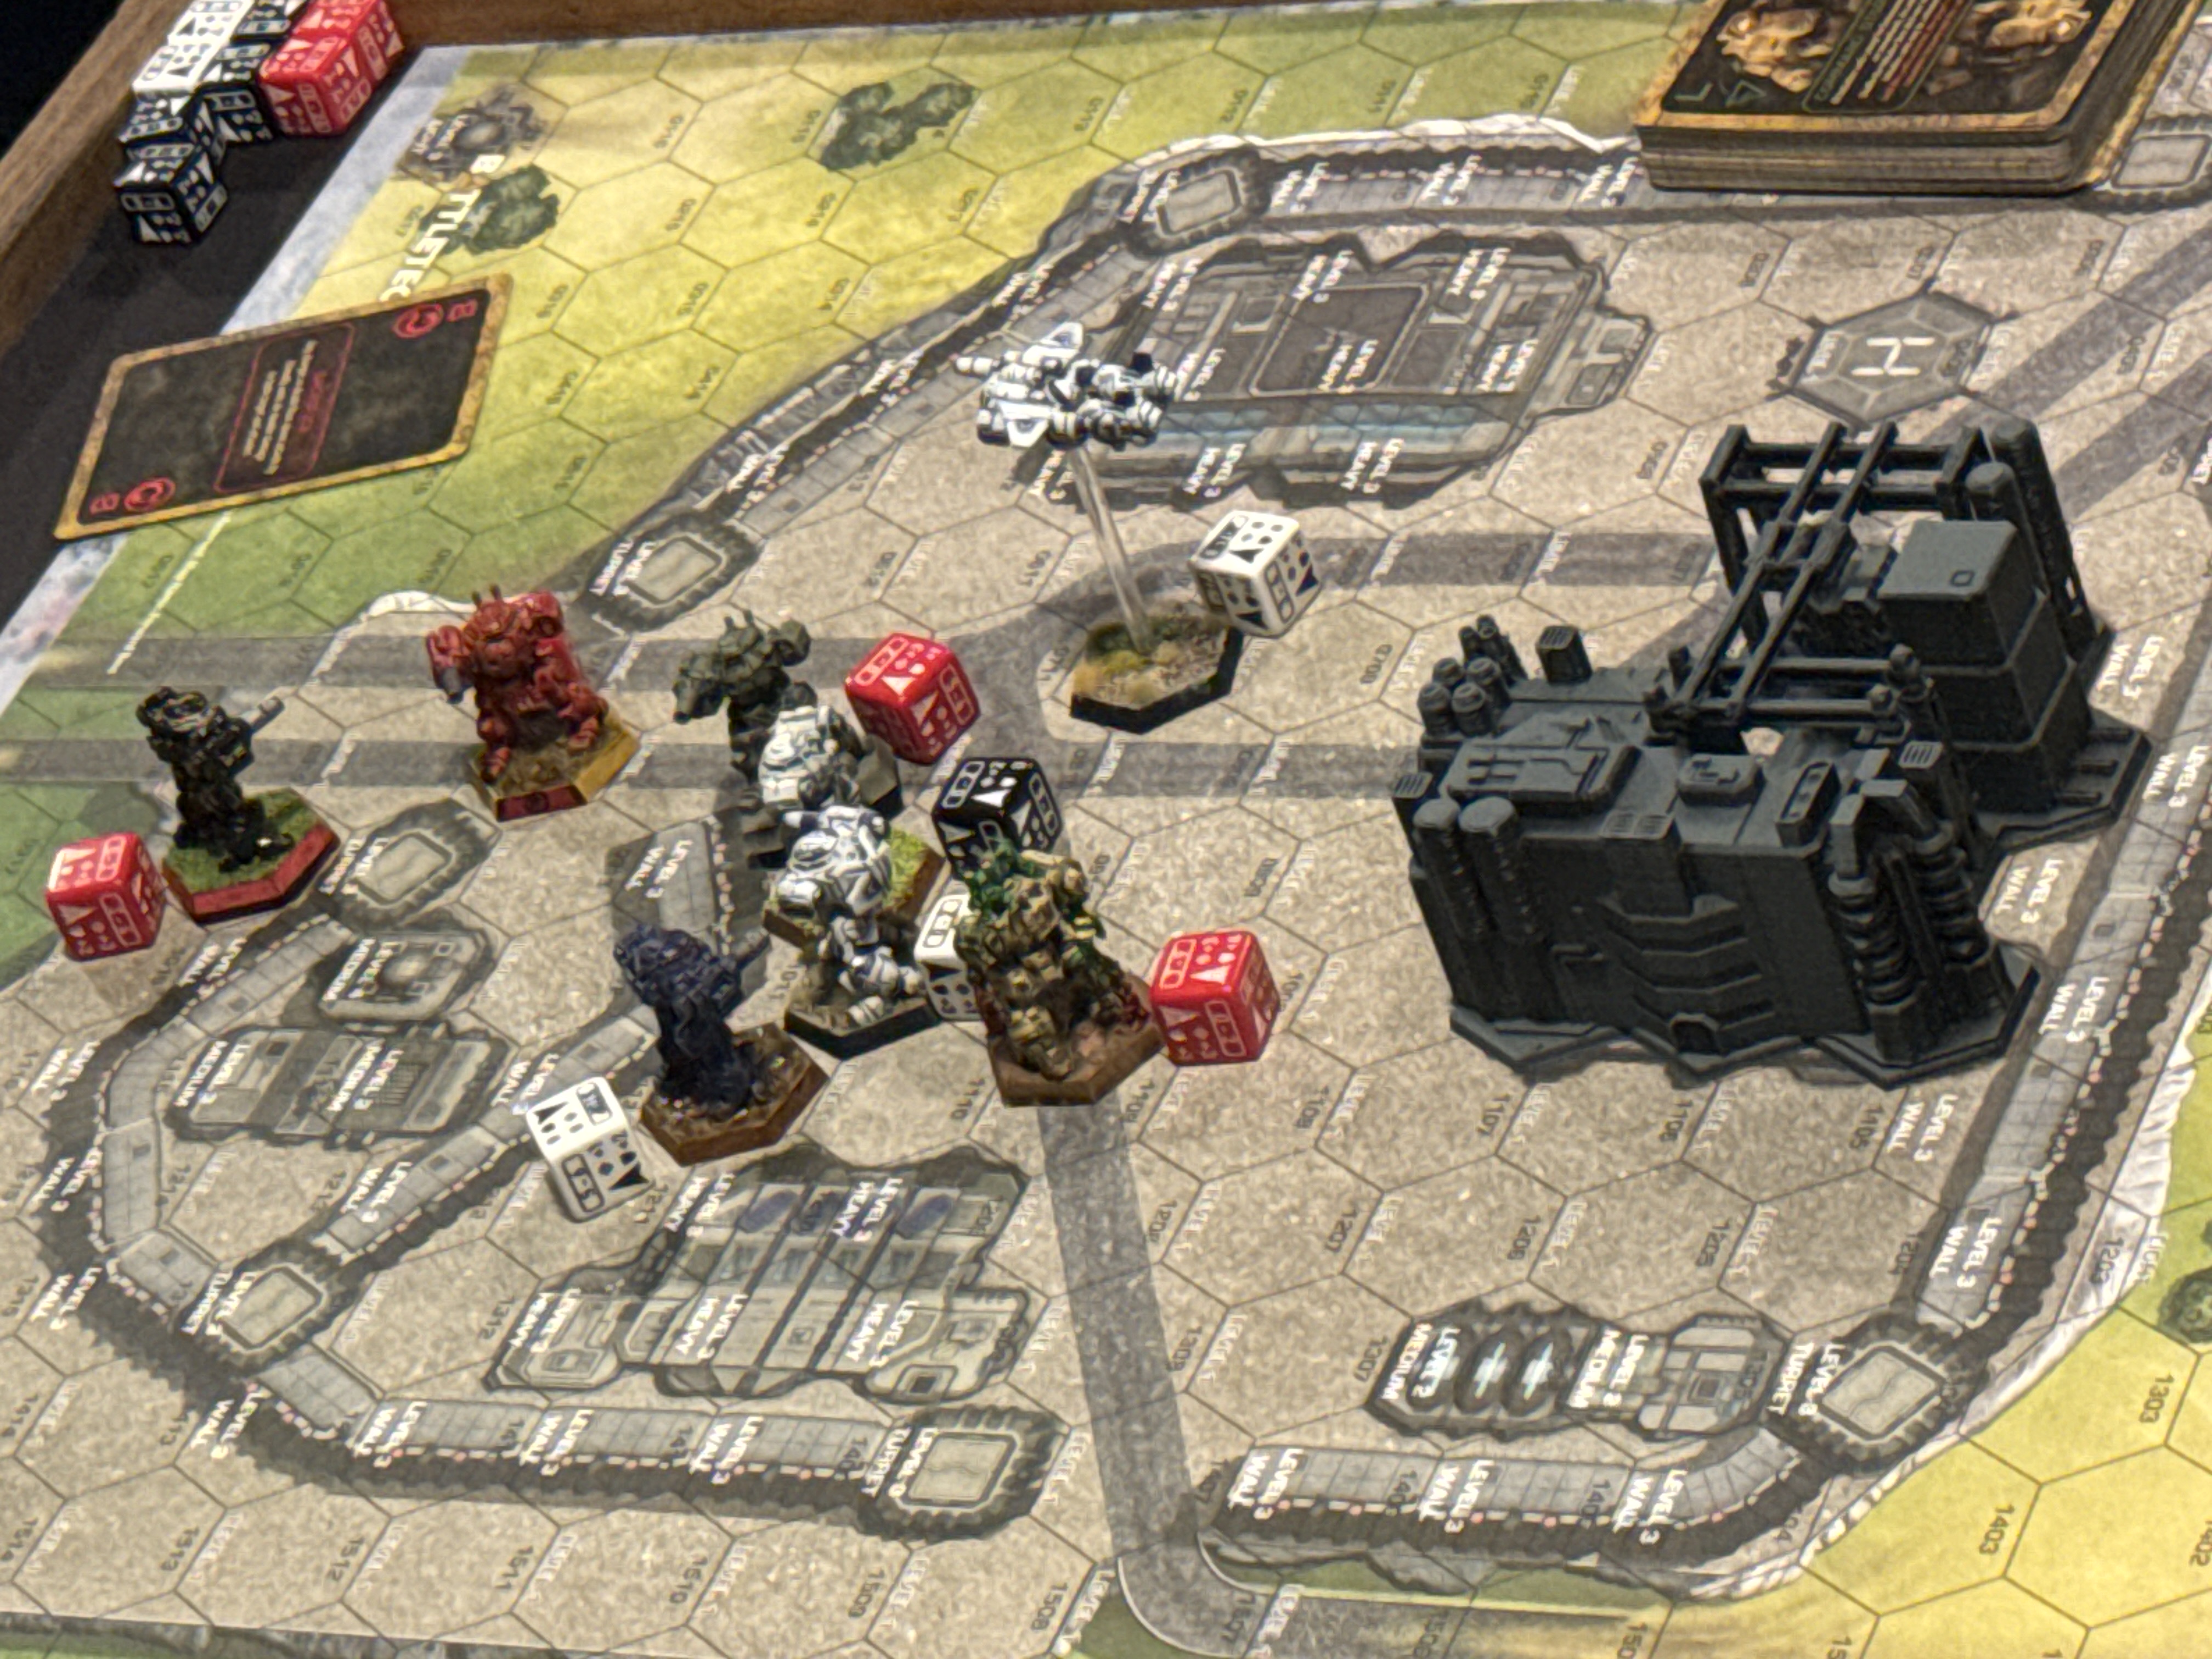
The final game saw me up against Tom who I've known for years. While I'd muddled my way through one game of Battletech Classic with another complete novice last year, this was his first game. He'd taken a similar approach to me when it game to list selection and we'd ended up with mirror images of each other's forces.
There's a lot more tactical depth when you have that number of models since small fast mechs can act as spotters to allow bigger ones to make indirect attacks on targets they can't see directly, and you have to guard against attacks from more possible directions.
We took very different approaches to the game with Tom focusing on killing my weakest mech, the Locust LCT-3V while I saw his BattleMaster BLR-1G in the open and took the opportunity to target it with everything I could.
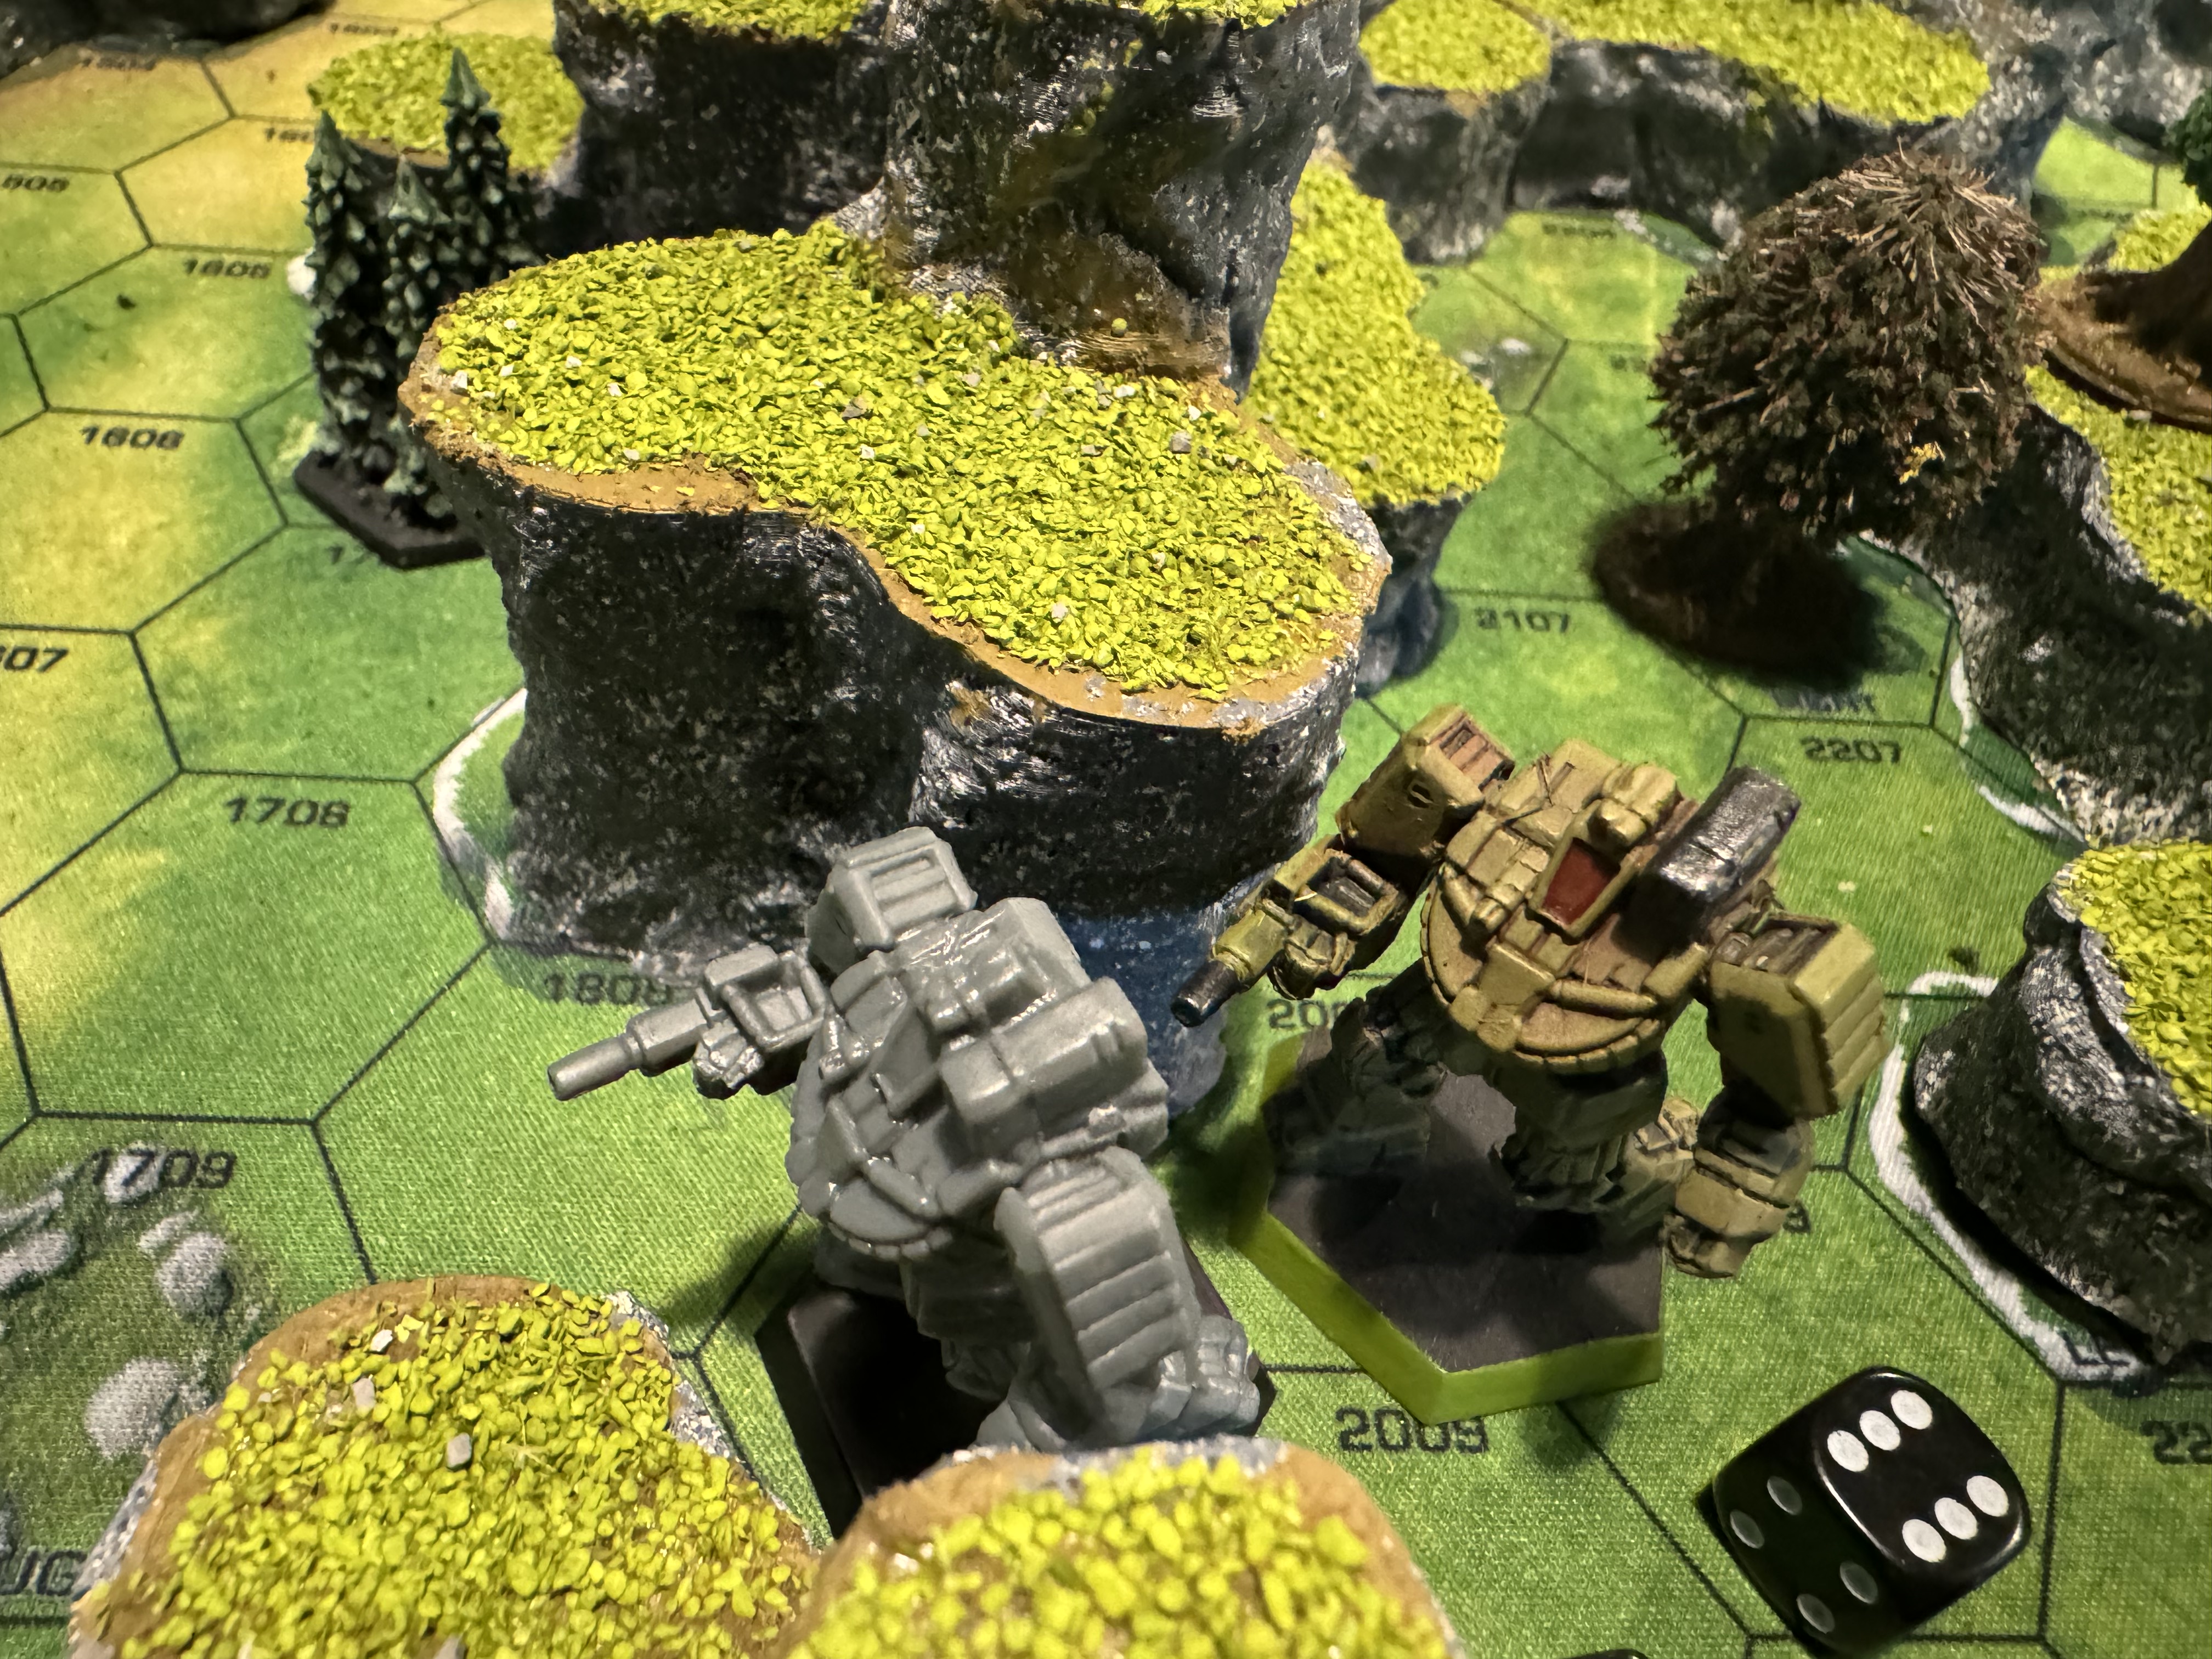
The game ended up revolving around two main conflict areas. Over on my left, the two Locusts focused on mainly on each other, with mine getting a decent amount of damage but failing to score any critical hits by darting around behind Tom's. Soon Tom's Catapult came over to assist and my Locust ended up splitting its focus as it darted around to sit in the rear arch of whichever enemy it could.
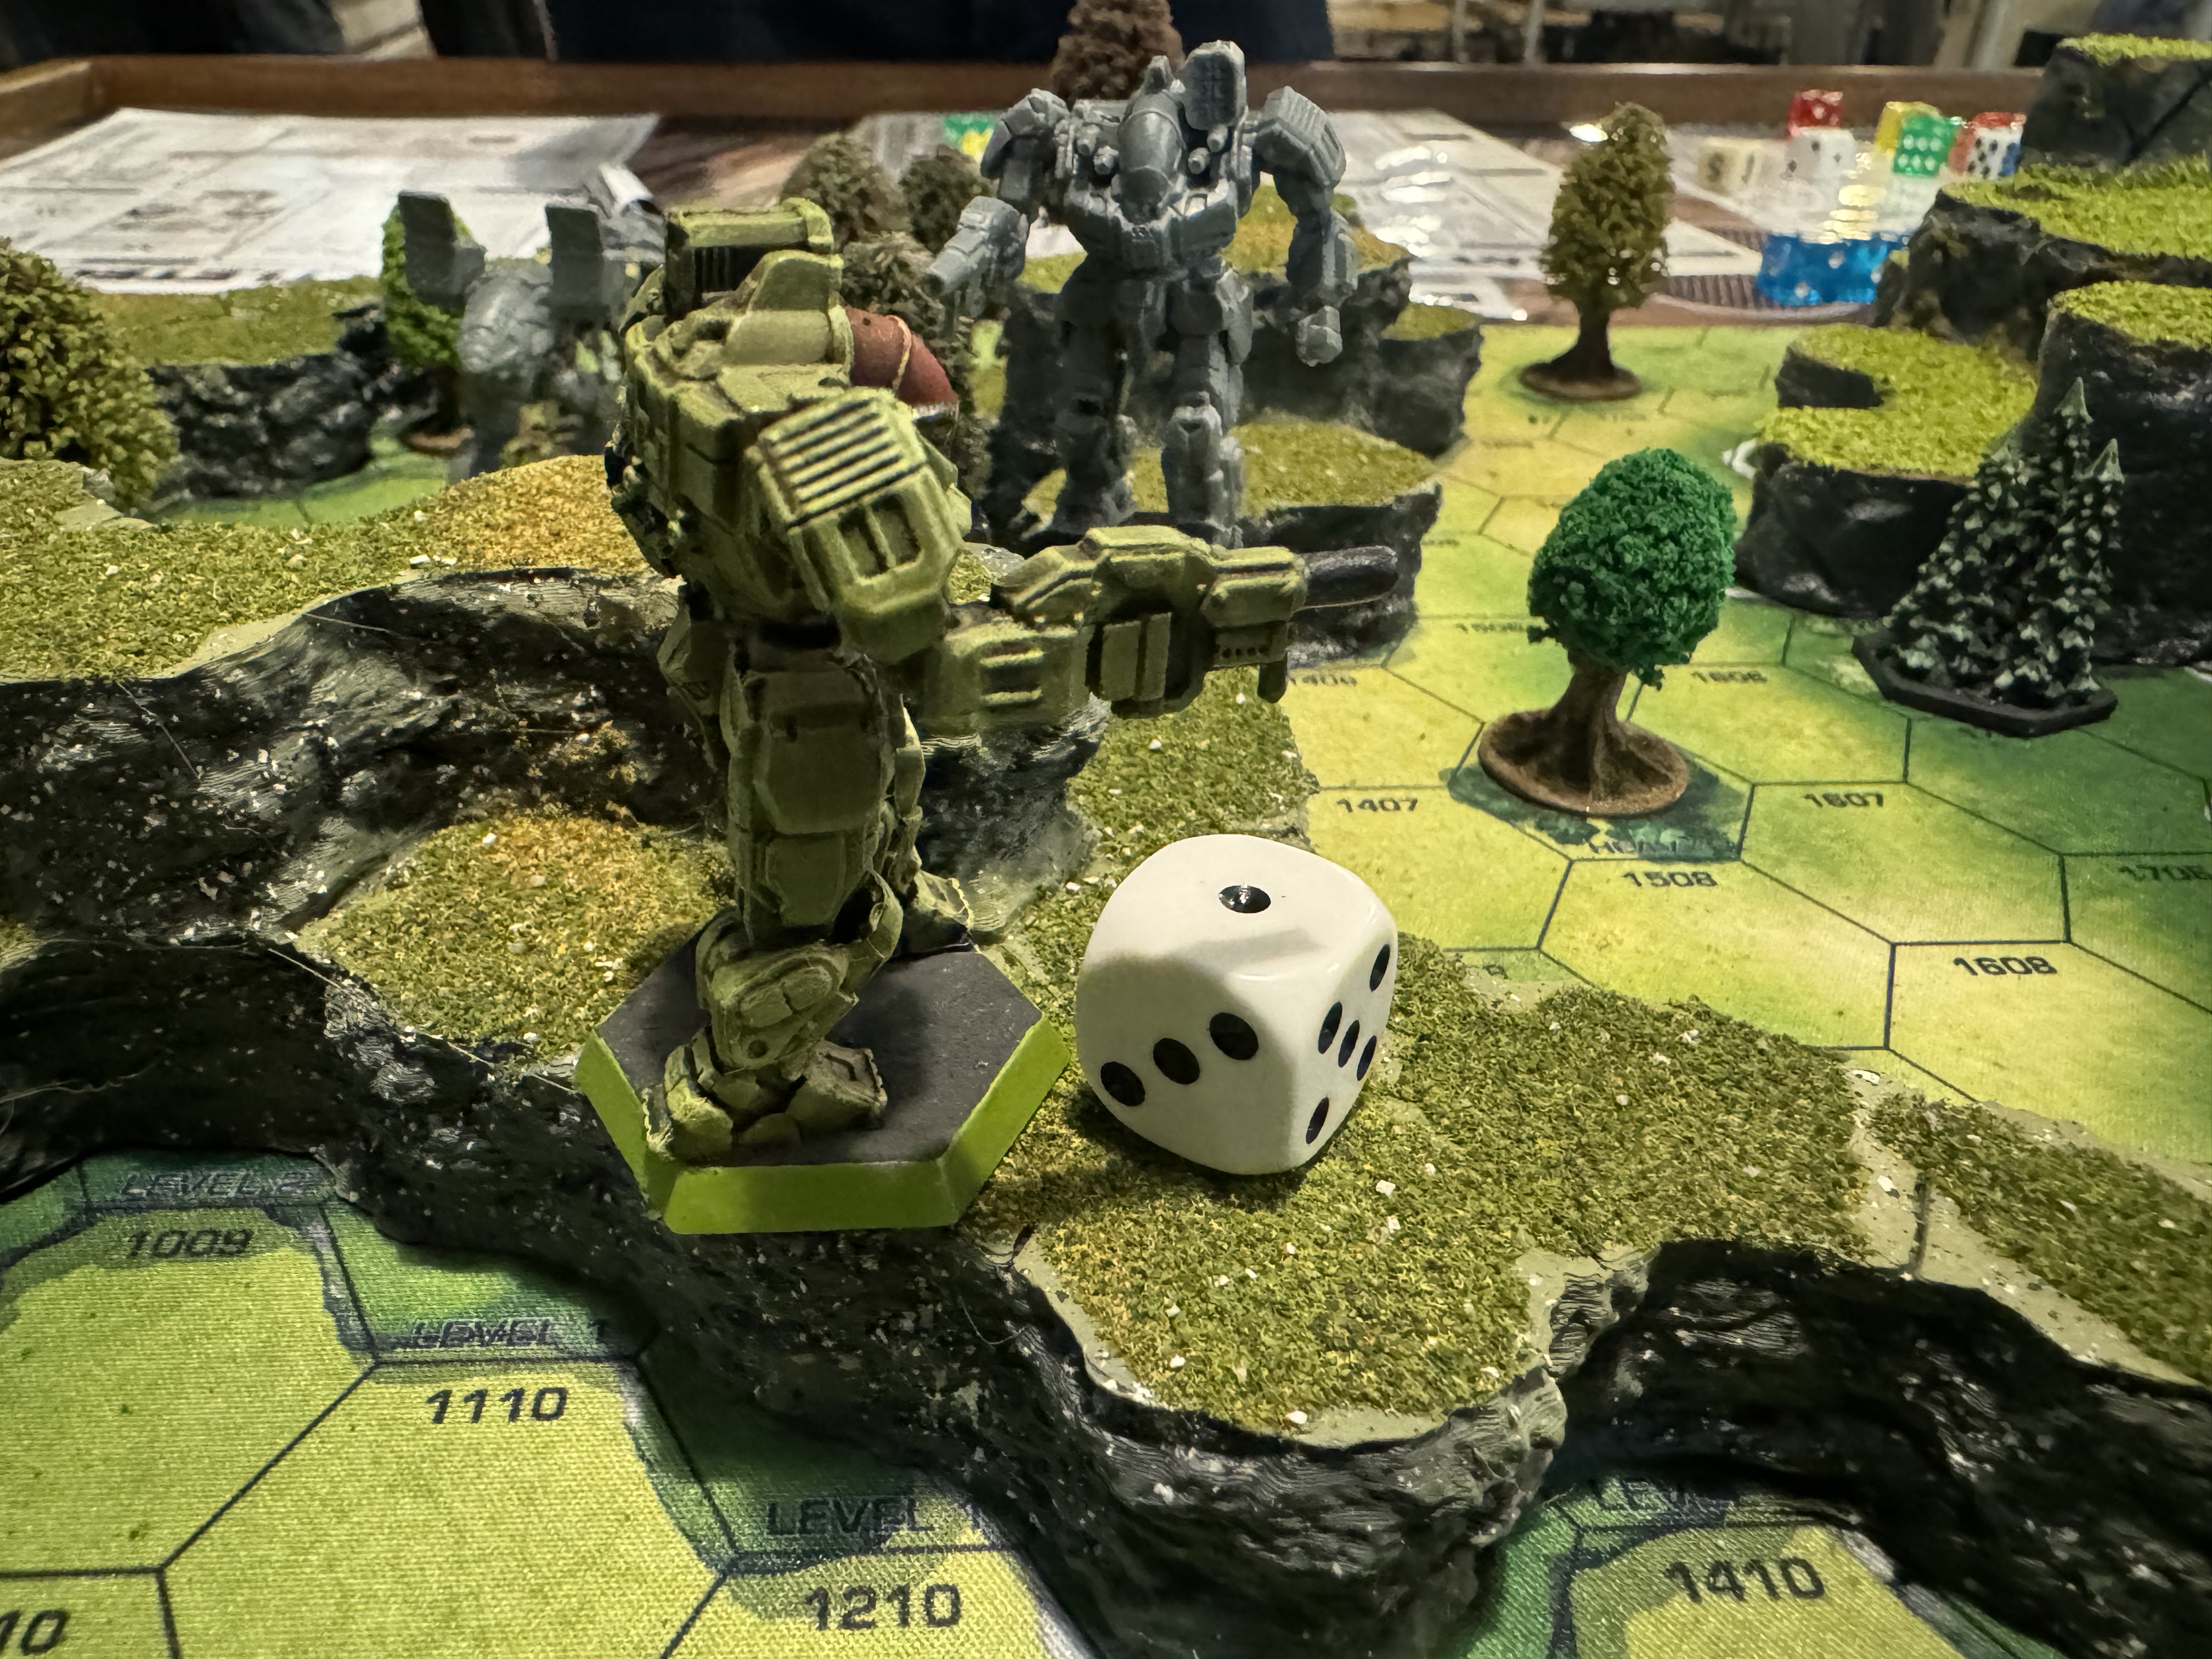
Meanwhile, in the centre of the battlefield my BattleMaster carefully manoeuvred through cover while Tom's lined up for optimal firing lines. Each were assisted by a Wolverine and my Catapult lurked in the cover a hillside at the back taking missile shots.
I was slowly whittling away the BattleMaster's armour when the Wolverine moved into a position where mine could jump behind it, so I took the chance while I could and kicked it down the hill. The next turn it clambered to its feet (quite slowly as the first piloting roll was a failure) and moved away, but not far enough to escape me running down behind it and opening fire in its back. This landed a lucky critical on an ammunition container which exploded, ripping its way through the mech's internal structure.
I turned my focus to the BattleMaster and moved mine in for the kill. Another round of exchanging fire ripping more armour off each of them before I took advantage of being a level above the enemy on the hill and went for a kick. It was a luck shot that connected directly with the head, knocking it flying and rendering the BattleMaster pilotless.
It was at that point that Tom's Locust and Catapult decided to take the better part of valour and exited the field.
Urbie Derby
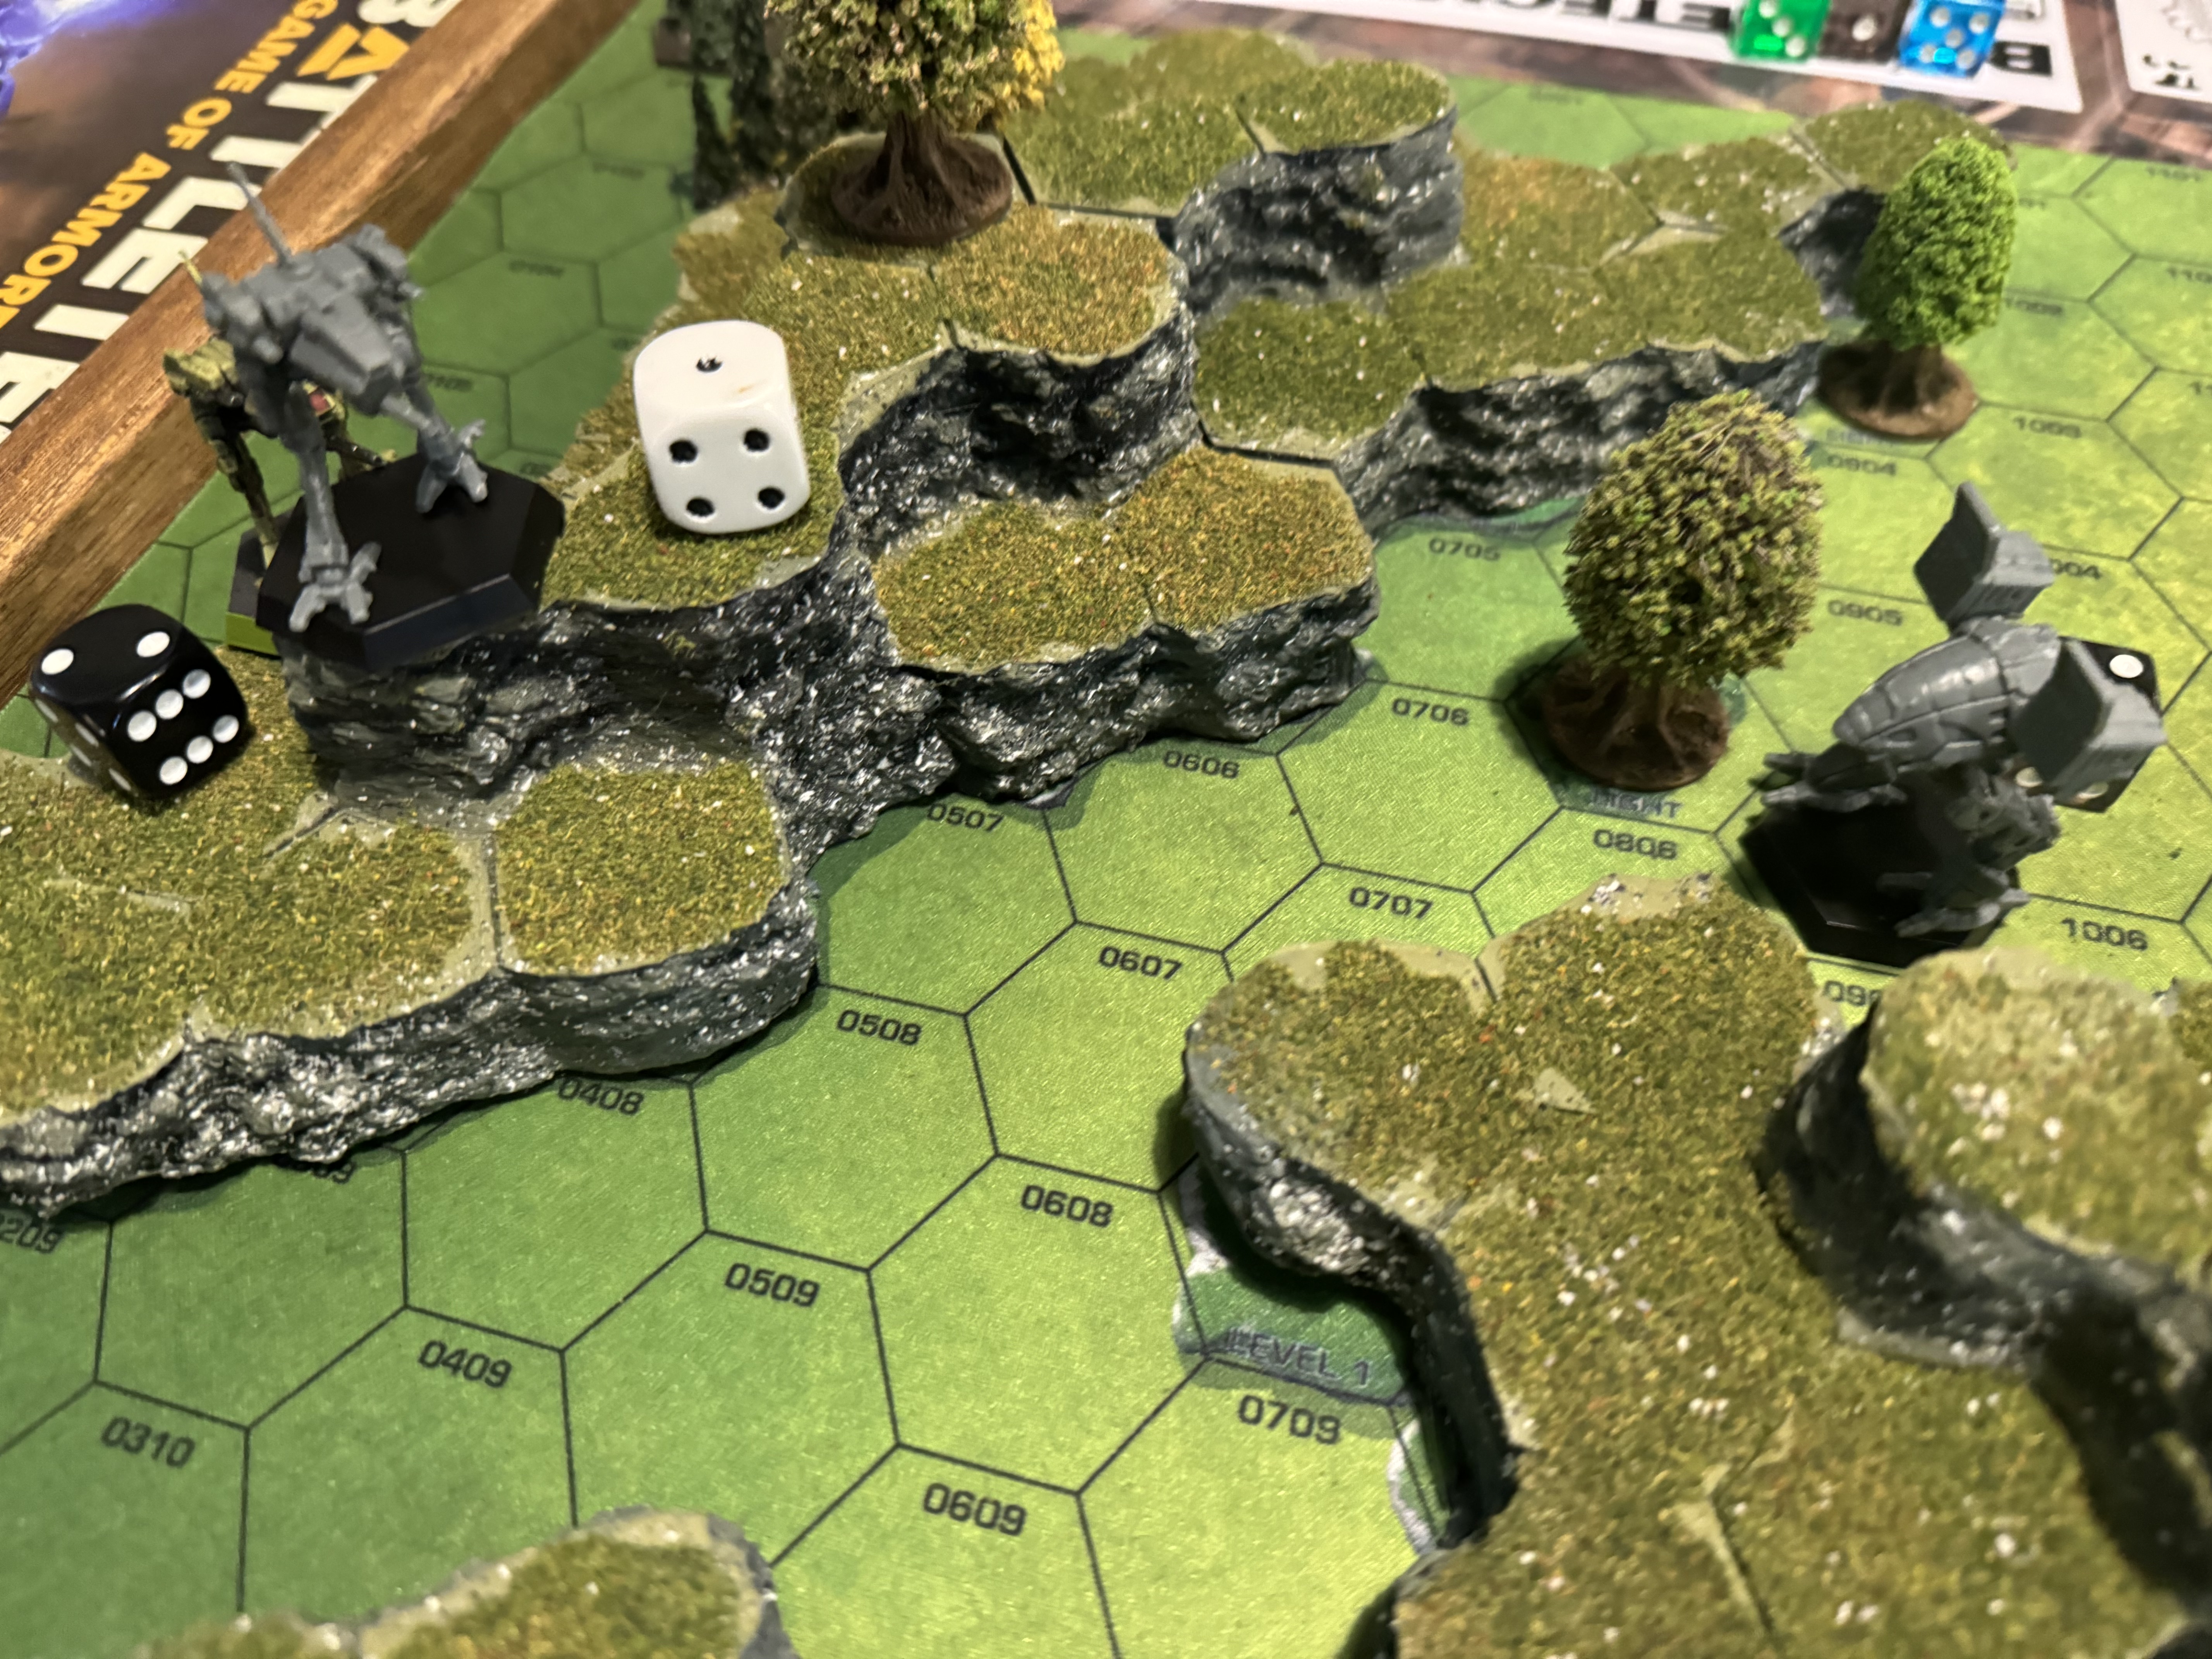
As the main games finished, those who hadn't had enough mech-on-mech action for one day took part in the Urbie Derby.
One mech each, dropping in to the game the turn after the player arrived at the table.
It was some very silly fun which included the chaos of death-from-above attacks failing because another DFA had knocked the target out of the way.
Postscript
All in all, it was a great day out. I learned a lot about how to play the game. Many thanks to Stuart for organising, my opponents for giving me good games, and everyone else.
Stuart made a brief write up with more pictures over on Facebook.